
Students today juggle demanding coursework, gaming sessions, and the need for reliable tech that doesn’t break the bank. Setting up a gaming PC for students on a budget in 2026 is a smart move. It delivers high performance for games, productivity apps, and even light cybersecurity tasks or AI experiments, all while keeping costs low. Whether you’re building from scratch or configuring a pre-built mini PC, this guide ensures you get the most out of your setup.
Imagine running the latest titles at smooth frame rates while tackling assignments or running virtual machines for cybersecurity studies. With rising hardware prices, focusing on value picks like AMD Ryzen processors with integrated graphics or budget NVIDIA GPUs makes it feasible. We cover everything from hardware assembly to software tweaks, emphasizing features like TPM 2.0 for security, DDR5 RAM for multitasking, and NVMe SSDs for quick load times.

This guide is ideal if you’re a college student, high school gamer, or parent helping out. No advanced skills required – just follow along. For more tech insights, check our blog for the latest trends in student laptops and gaming PCs.
Preparation
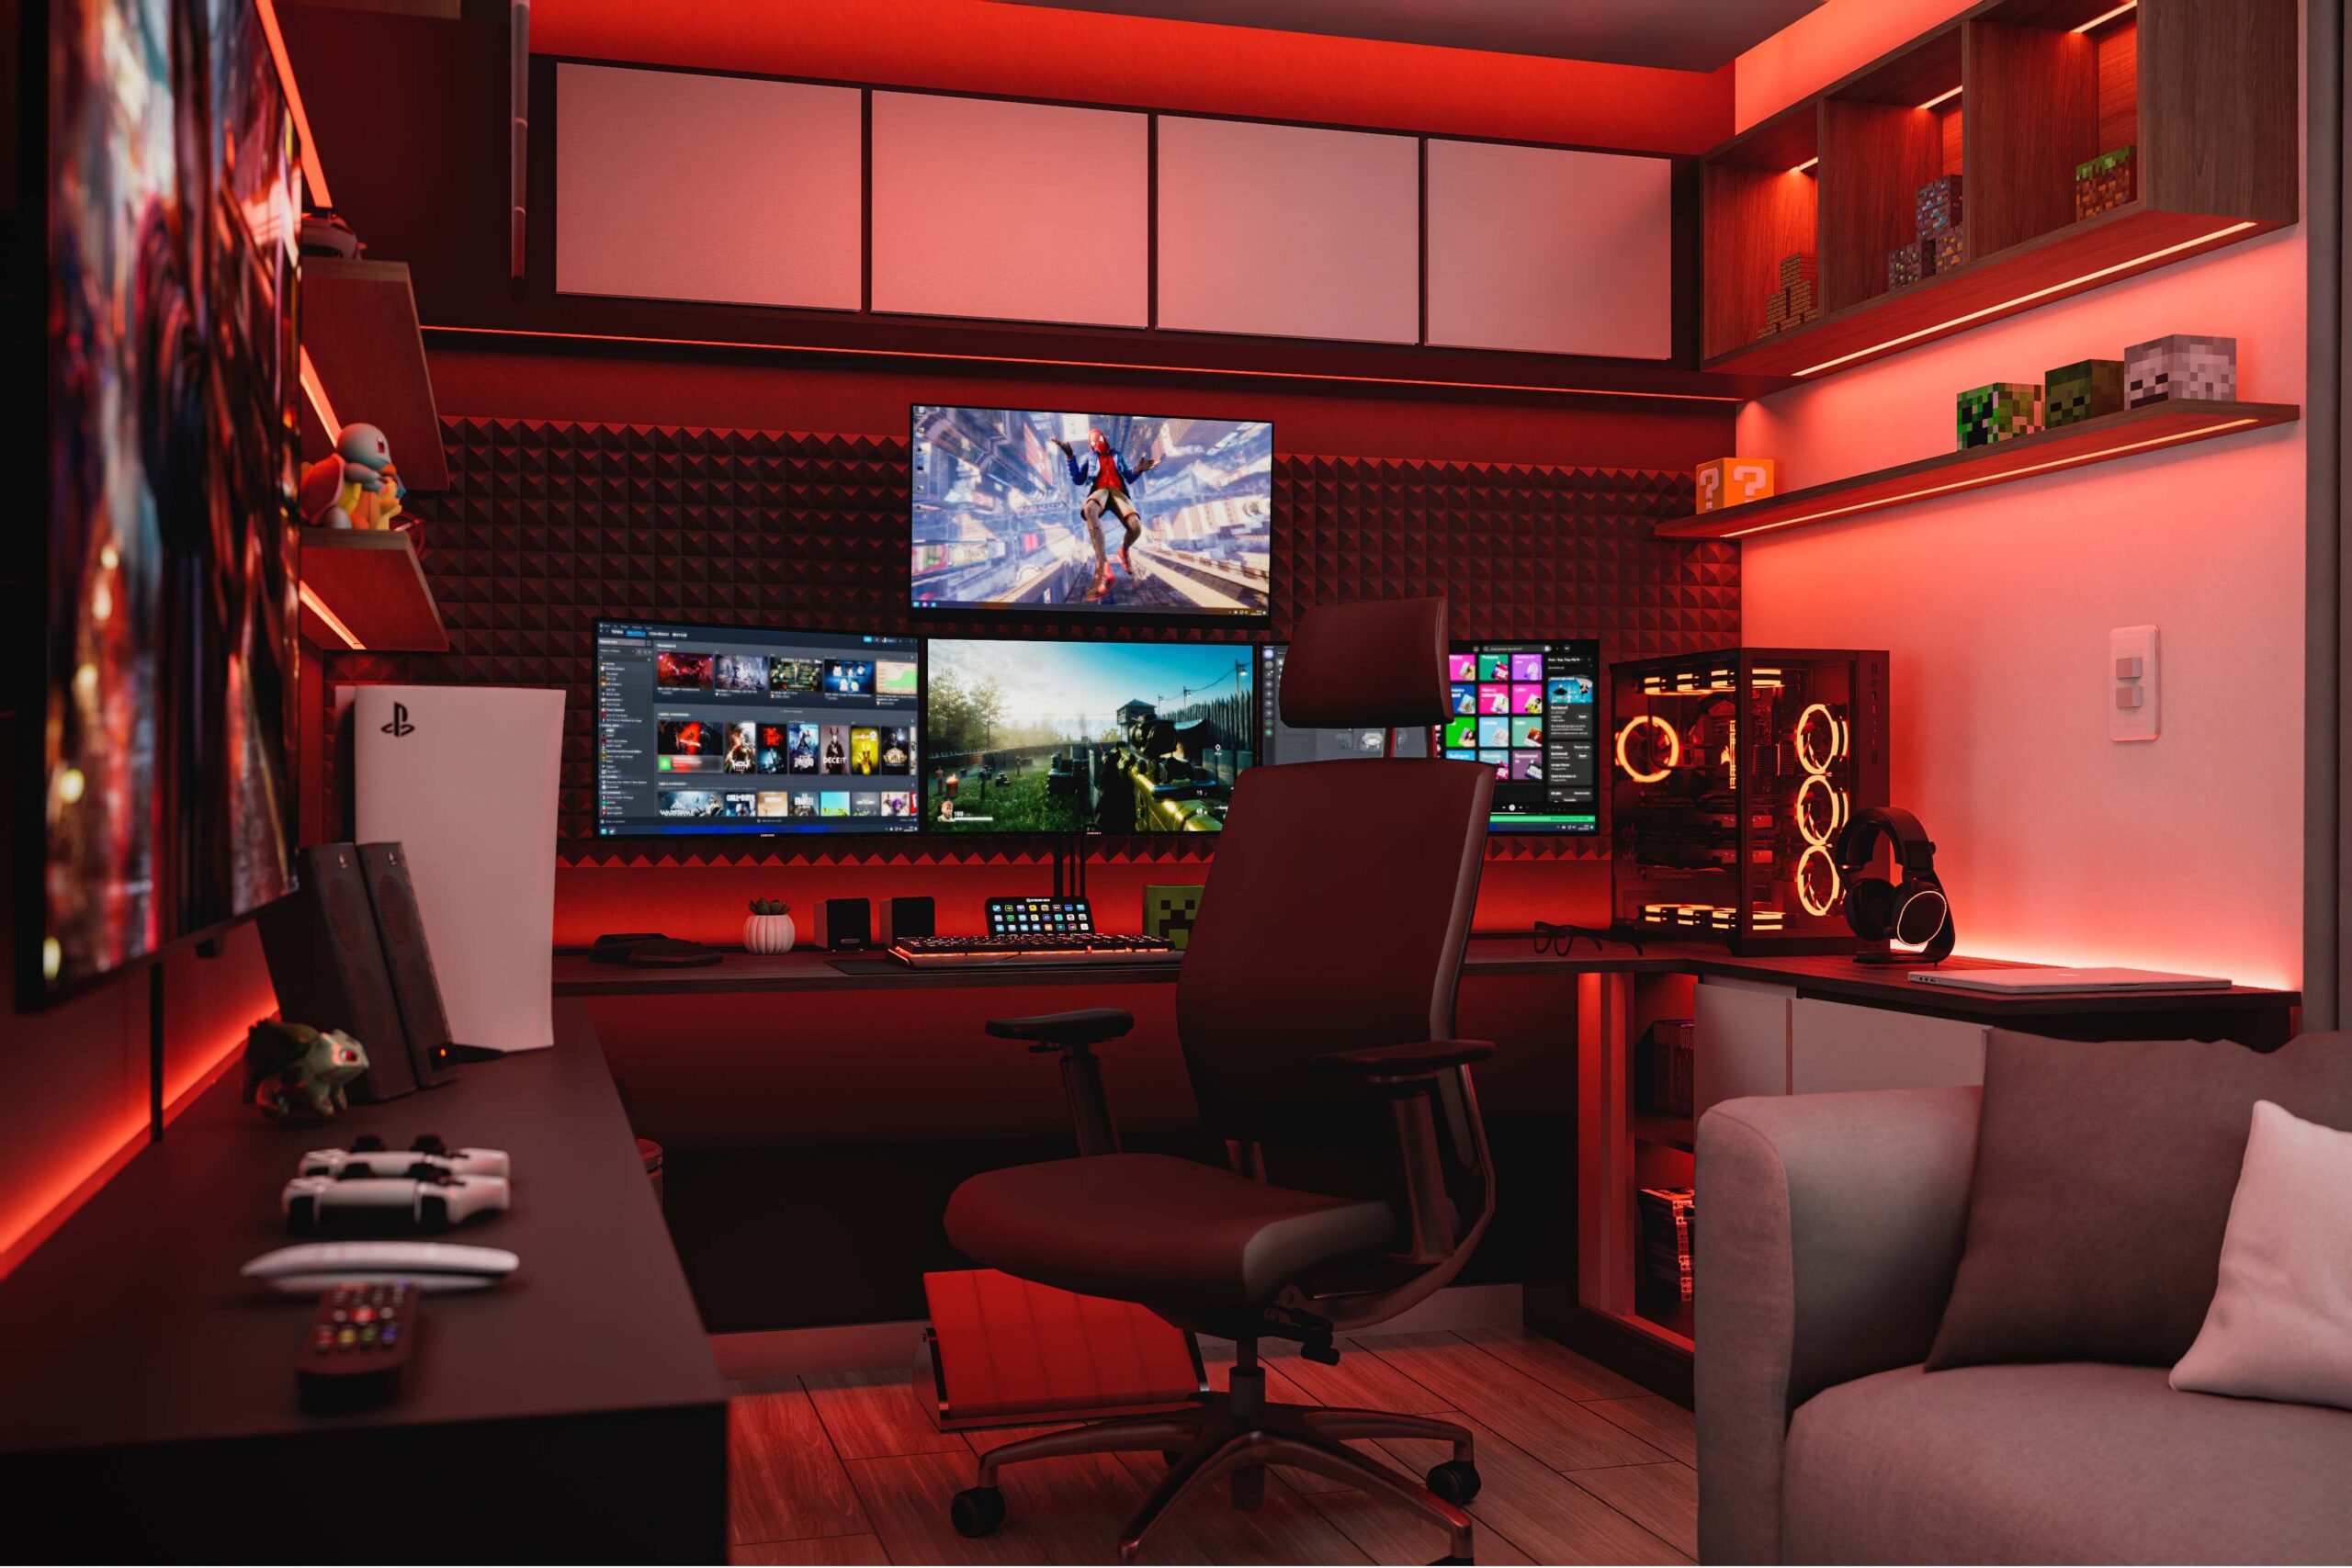
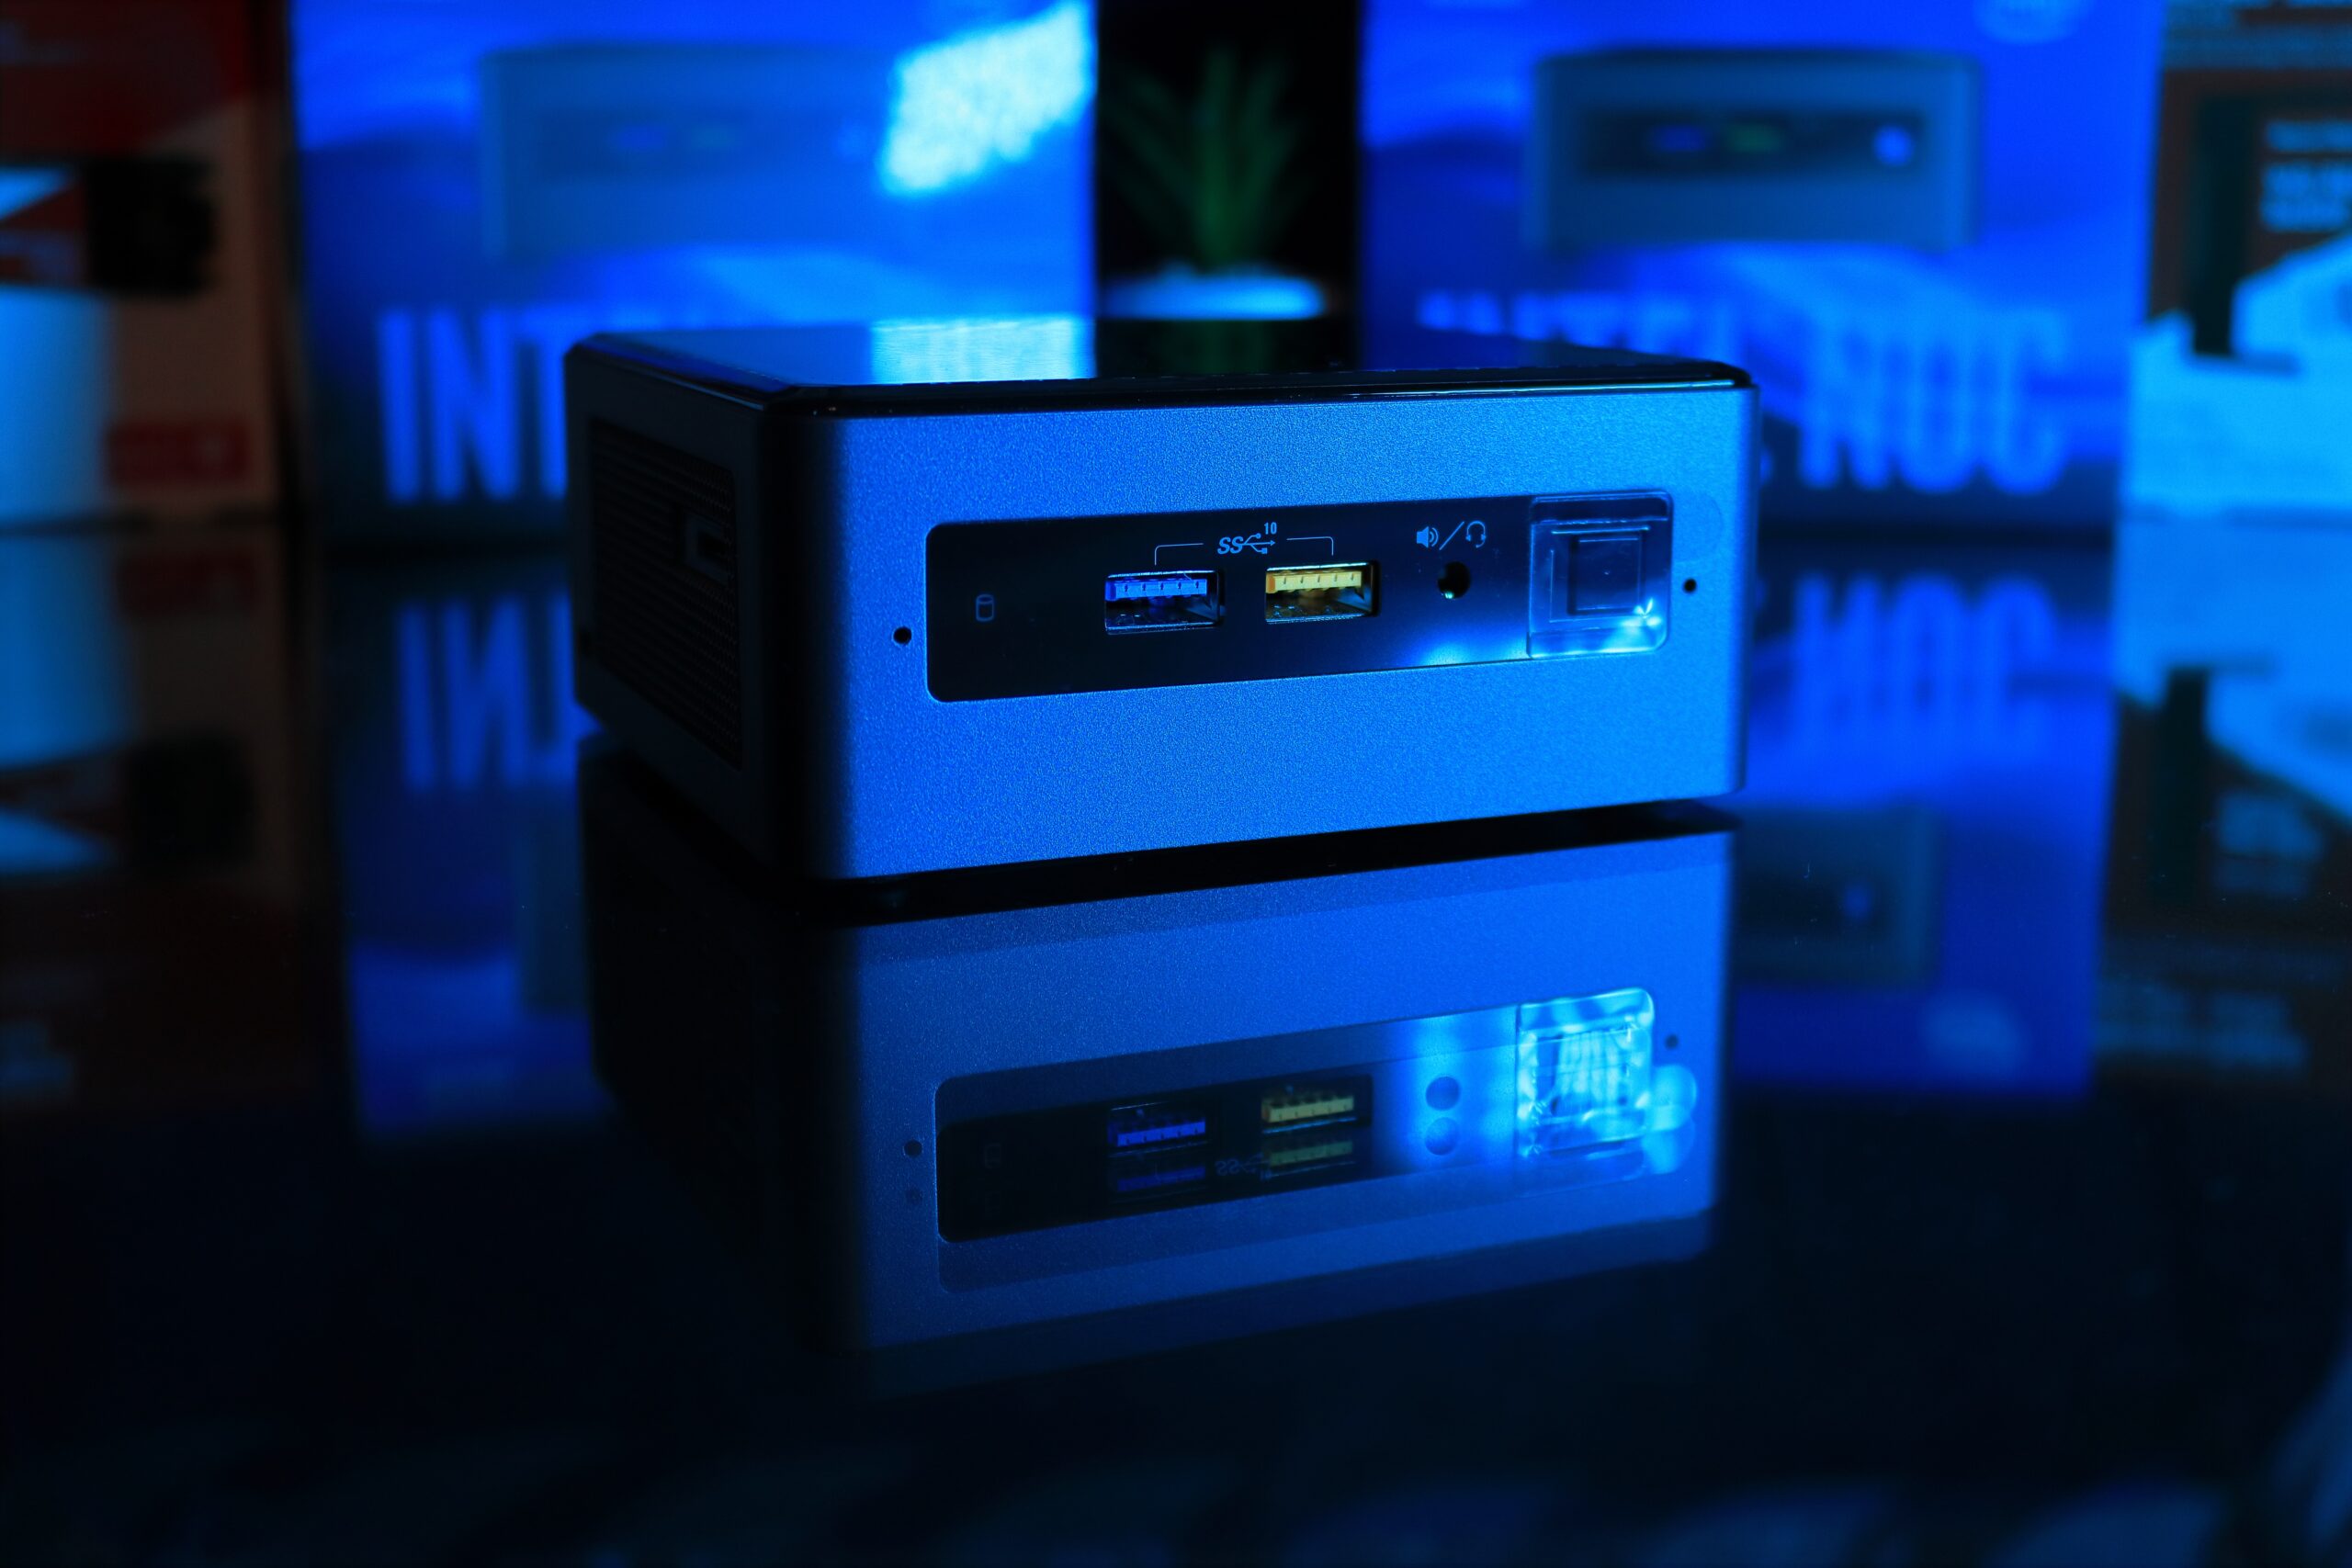
Before diving in, plan your build to stay within budget. Prioritize components that offer the best performance-per-dollar: a capable CPU like those with Ryzen 5 or Intel Core i5 equivalents, at least 16GB DDR4 or DDR5 RAM, a 512GB NVMe SSD, and integrated graphics or a entry-level RTX GPU if possible. For students, opt for compact cases suitable for dorms, ensuring Wi-Fi 6E support for fast campus networks.
Gather tools: Phillips screwdriver, thermal paste, anti-static wrist strap, zip ties, and a clean workspace. Budget tip: Shop during sales for bundles. Verify compatibility using tools like PCPartPicker. Download OS ISOs (Windows 11 or Linux for free options) and key drivers in advance. For cybersecurity focus, note TPM 2.0 requirements for Windows 11.
- Component list: Motherboard (B550 or H610 chipset), PSU (at least 500W 80+ Bronze), cooling solutions.
- Software: USB drive (8GB+ for bootable media), browser for driver downloads.
- Safety: Work on non-carpeted surface to avoid static.
Step-by-Step Setup Guide
Follow these 8 steps carefully. Take your time – rushing leads to mistakes.
Unbox and organize components. Lay out motherboard, CPU, RAM, GPU, storage, PSU, and case. Read manuals. This prevents lost screws and ensures you know orientations.
Install CPU and cooler. Open socket on motherboard, align CPU notches, gently place. Apply pea-sized thermal paste, attach cooler. Secure without overtightening to avoid bending pins.
Add RAM and storage. Slot DDR5 sticks into DIMM slots (dual-channel config for best performance). Install NVMe SSD into M.2 slot, secure with screw. Warning: Ground yourself first.
Mount motherboard in case. Install I/O shield, align standoffs, screw in place. Connect front panel headers (power, reset, USB) per manual diagram.
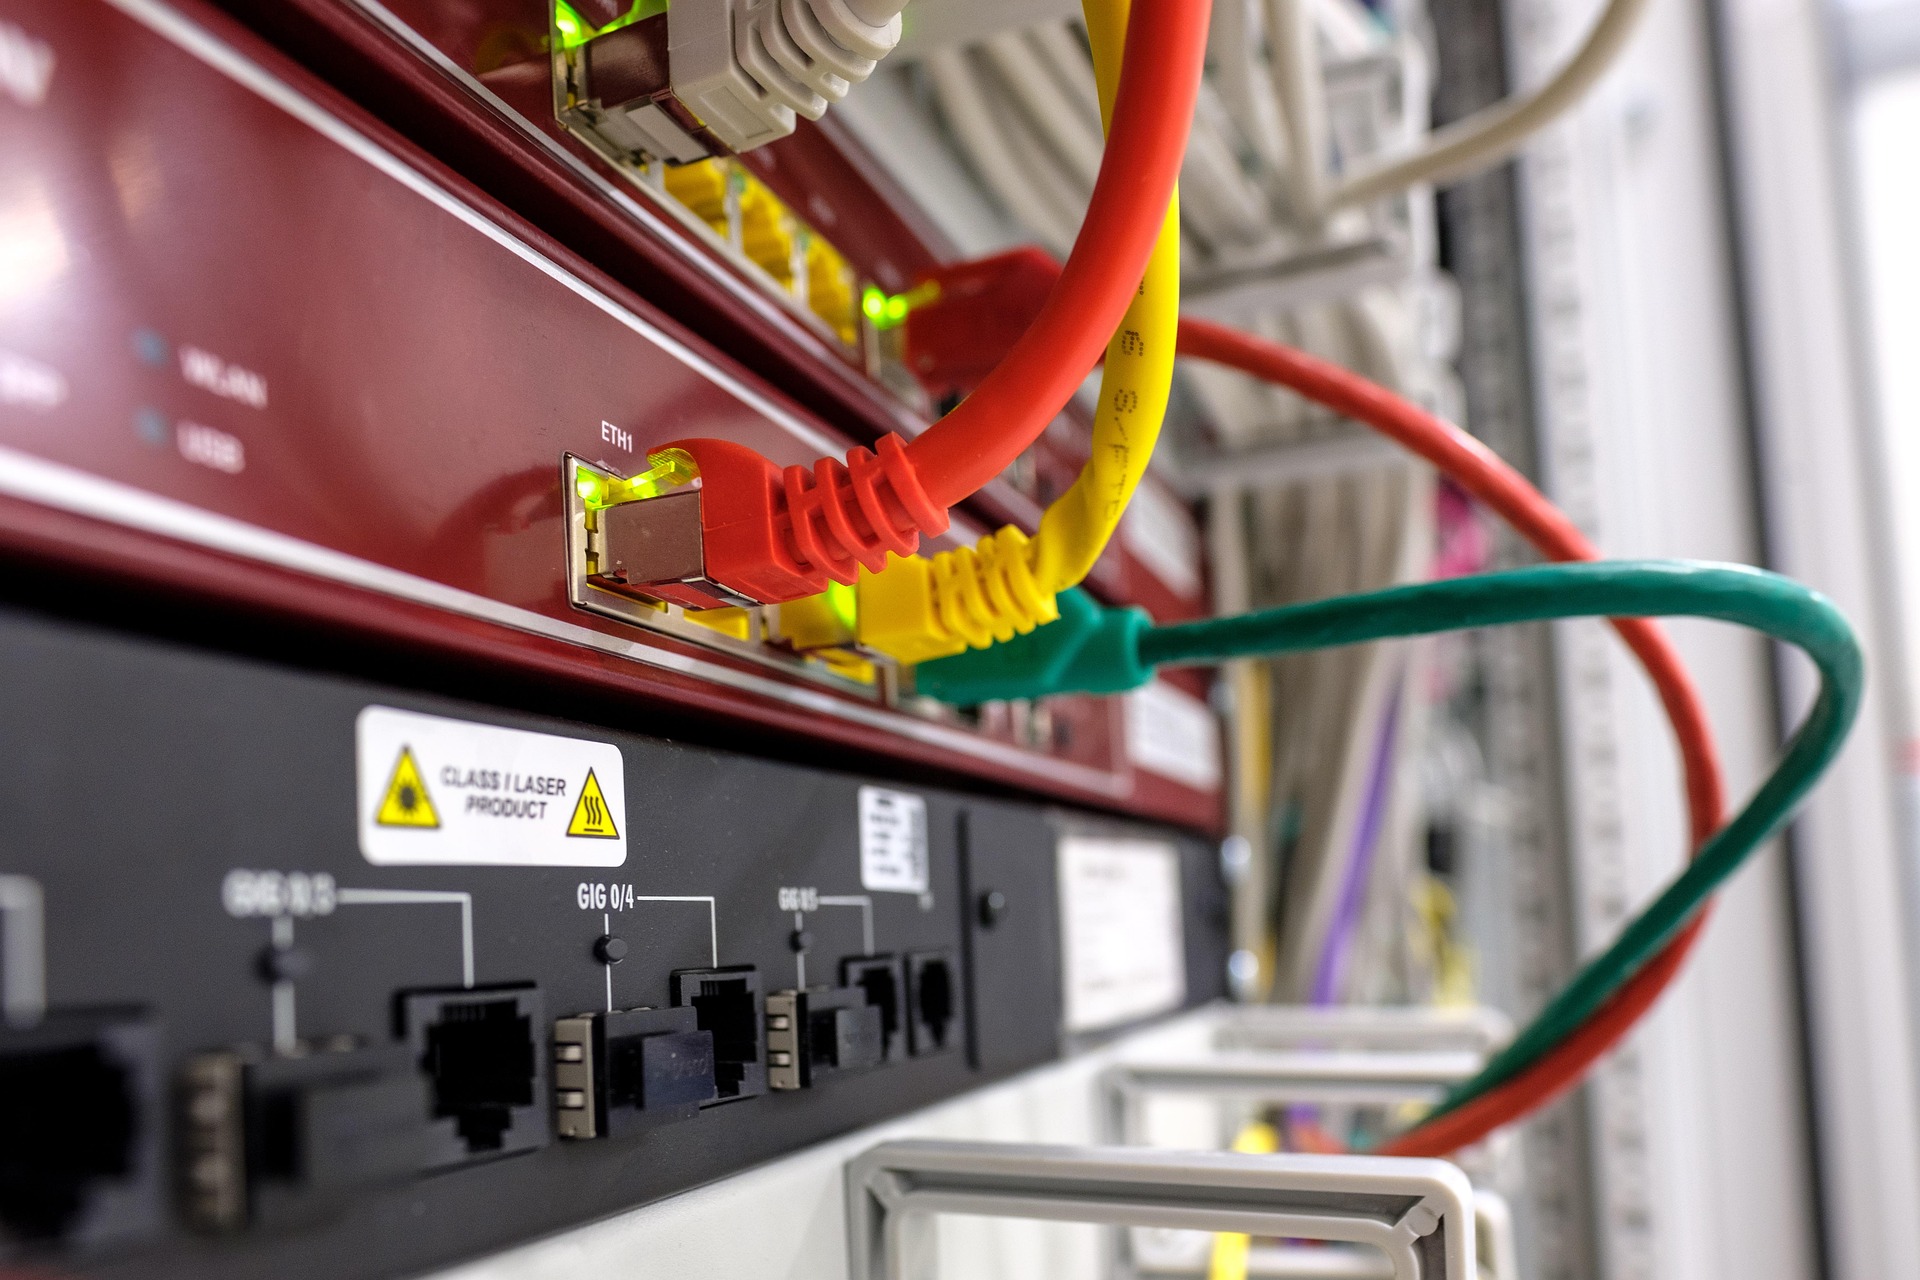
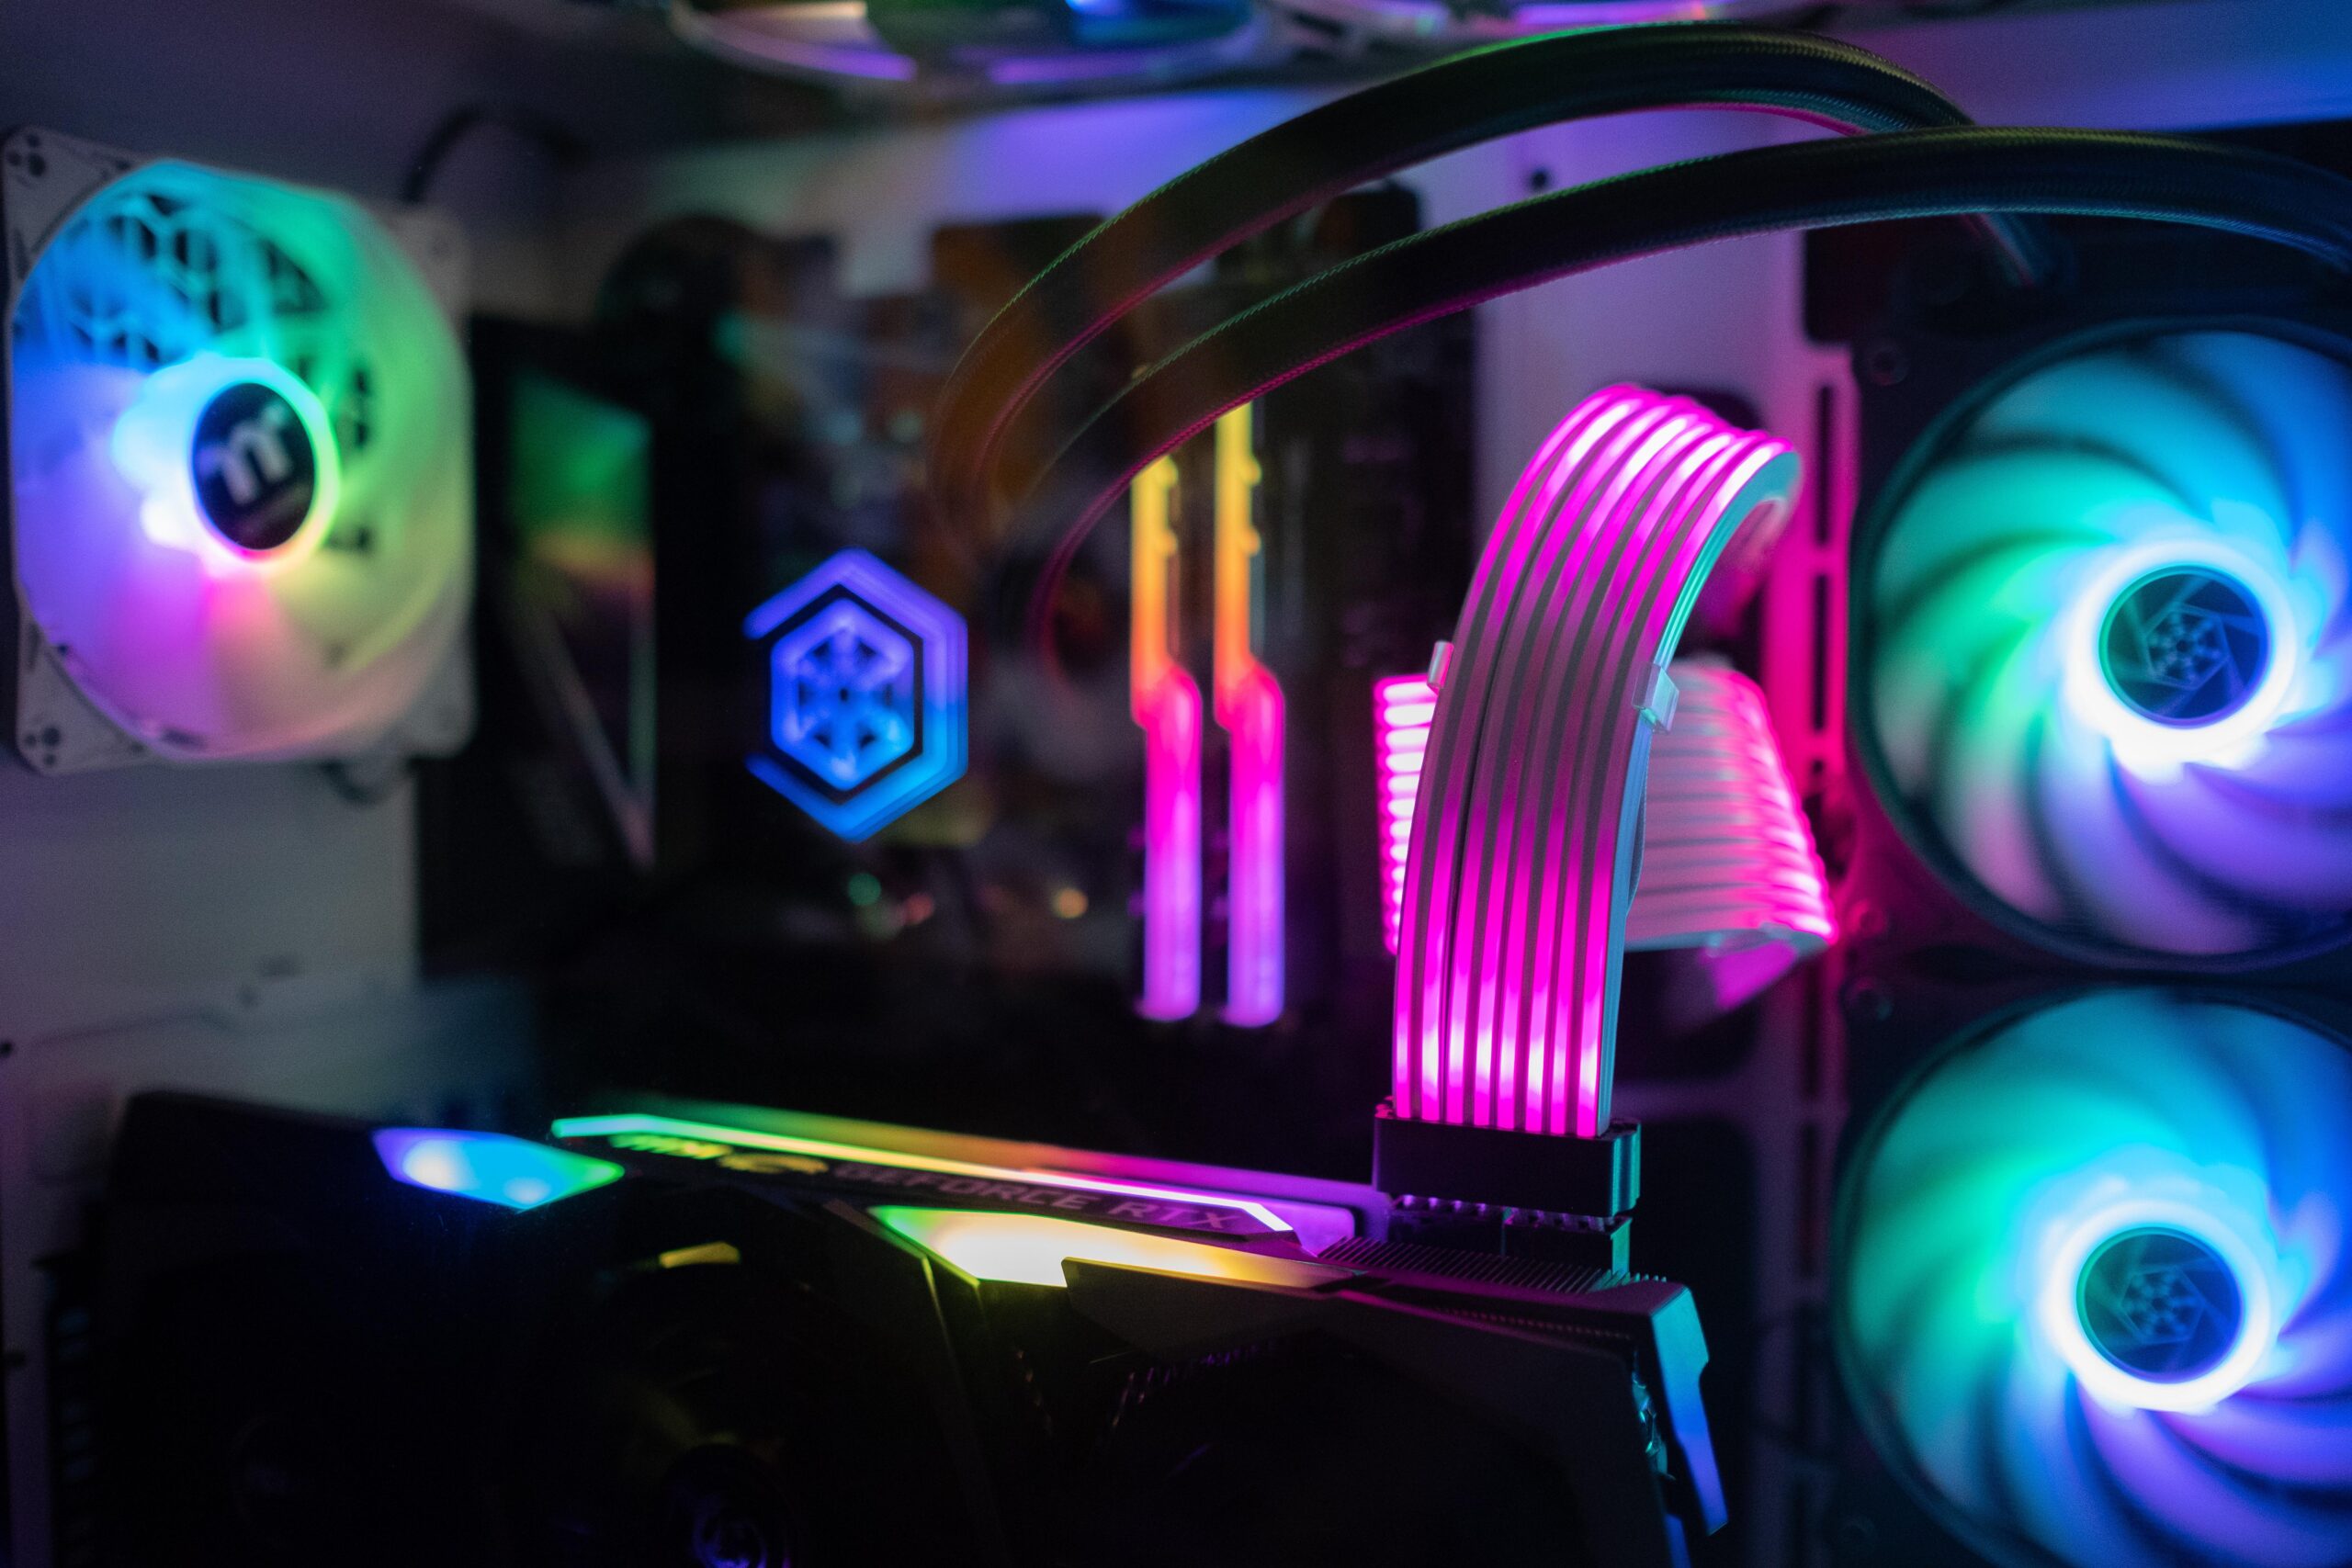
Install PSU and GPU. Mount PSU at bottom/top, route cables. Slot GPU into PCIe x16, connect power cables if needed (e.g., 6+2 pin for RTX cards).
Cable management and power up. Connect 24-pin ATX, 8-pin CPU power, SATA for extra drives. Plug in peripherals, power on. Enter BIOS (Del/F2) to check POST, enable XMP for RAM.
Install OS. Boot from USB (set in BIOS), install Windows 11. Enable BitLocker if TPM 2.0 present for encryption. Update via Settings.
Drivers and software. Download chipset, GPU (NVIDIA GeForce Experience or AMD Adrenaline), network drivers. Install Steam, antivirus like Windows Defender enhancements, student tools (Office 365, VPN).
Optimization Tips
Maximize your budget build’s potential with these 7 tips tailored for students.
- Use integrated graphics initially to test, upgrade GPU later.
- Enable Resizable BAR in BIOS for GPU boost.
- Overprovision SSD for longevity; use Storage Spaces for RAID-like setups.
- Set power plan to High Performance, but Balanced for battery-like efficiency in dorms.
- Install MSI Afterburner for monitoring temps/FPS; keep under 80C.
- For cybersecurity: Enable Windows Hello, firewall, regular updates; add Malwarebytes free tier.
- Gaming tweaks: Update DirectX, cap FPS to reduce heat/power; use DLSS/FSR for budget GPUs.
These keep costs low while hitting 1080p 60FPS in most games, perfect for study breaks.
Troubleshooting
No POST? Check PSU cables, reseat RAM/CPU. Overheating? Reapply paste, improve airflow. Blue screens? Run memtest86 from USB. Wi-Fi issues? Install latest Realtek/Intel drivers. For gaming lag, verify GPU drivers and close background apps. Security alerts? Scan with Defender. If persistent, CMOS reset by removing battery 5 mins.
| Issue | Quick Fix |
| No display | Reseat GPU/RAM, try iGPU |
| Slow boot | Fast Startup off, SSD trim |
| BSOD | Update BIOS/drivers |
Final Thoughts
Setting up a gaming PC for students on a budget in 2026 empowers you to game, study, and explore cybersecurity or AI without compromise. With focus on efficient components like NVMe storage and secure features, your rig will serve through college. Start small, upgrade as needed – the satisfaction of a custom build is unbeatable. Dive into our blog for more guides on mini PCs and laptops.
FAQs
Can I use a mini PC for gaming on a student budget?
Yes, mini PCs with Ryzen APUs excel at 1080p gaming affordably, plus they’re portable for dorms.
Do I need a discrete GPU?
Not initially; integrated options handle esports and indie games well on budget.
How to secure my gaming PC for cybersecurity studies?
Enable TPM 2.0, BitLocker, firewall, and use VPN; isolate VMs with Hyper-V.
What’s the minimum RAM for gaming and studying?
16GB DDR4/5; upgrade to 32GB if multitasking with browsers and VMs.
Can Linux work for budget gaming setups?
Absolutely – Proton/Steam makes it great, plus free and lightweight for students.


Write Your Review
No reviews yet. Be the first to share your experience!