
Building your own gaming PC can be an exciting journey, especially if you’re a beginner stepping into the world of high-performance computing. In 2026, with advancements in components like RTX GPUs, DDR5 RAM, and NVMe SSDs, creating a custom rig has never been more accessible. Whether you’re aiming for smooth 4K gaming, AI-enhanced workloads, or even cybersecurity simulations on a Gaming PC, this guide walks you through everything.
Many beginners worry about compatibility issues or static damage, but with the right preparation, you can avoid common pitfalls. This how to build gaming pc step by step for beginners covers all the essentials, from selecting parts to the first boot-up. It’s perfect for students needing a powerful Laptop for Student alternative in desktop form, or enthusiasts exploring Mini PC upgrades. We recommend checking our blog for more insights on Gaming PCs and cybersecurity hardware.
By the end, you’ll have a fully functional machine ready for the latest titles or resource-intensive tasks. Let’s dive in and build something awesome together!
Preparation
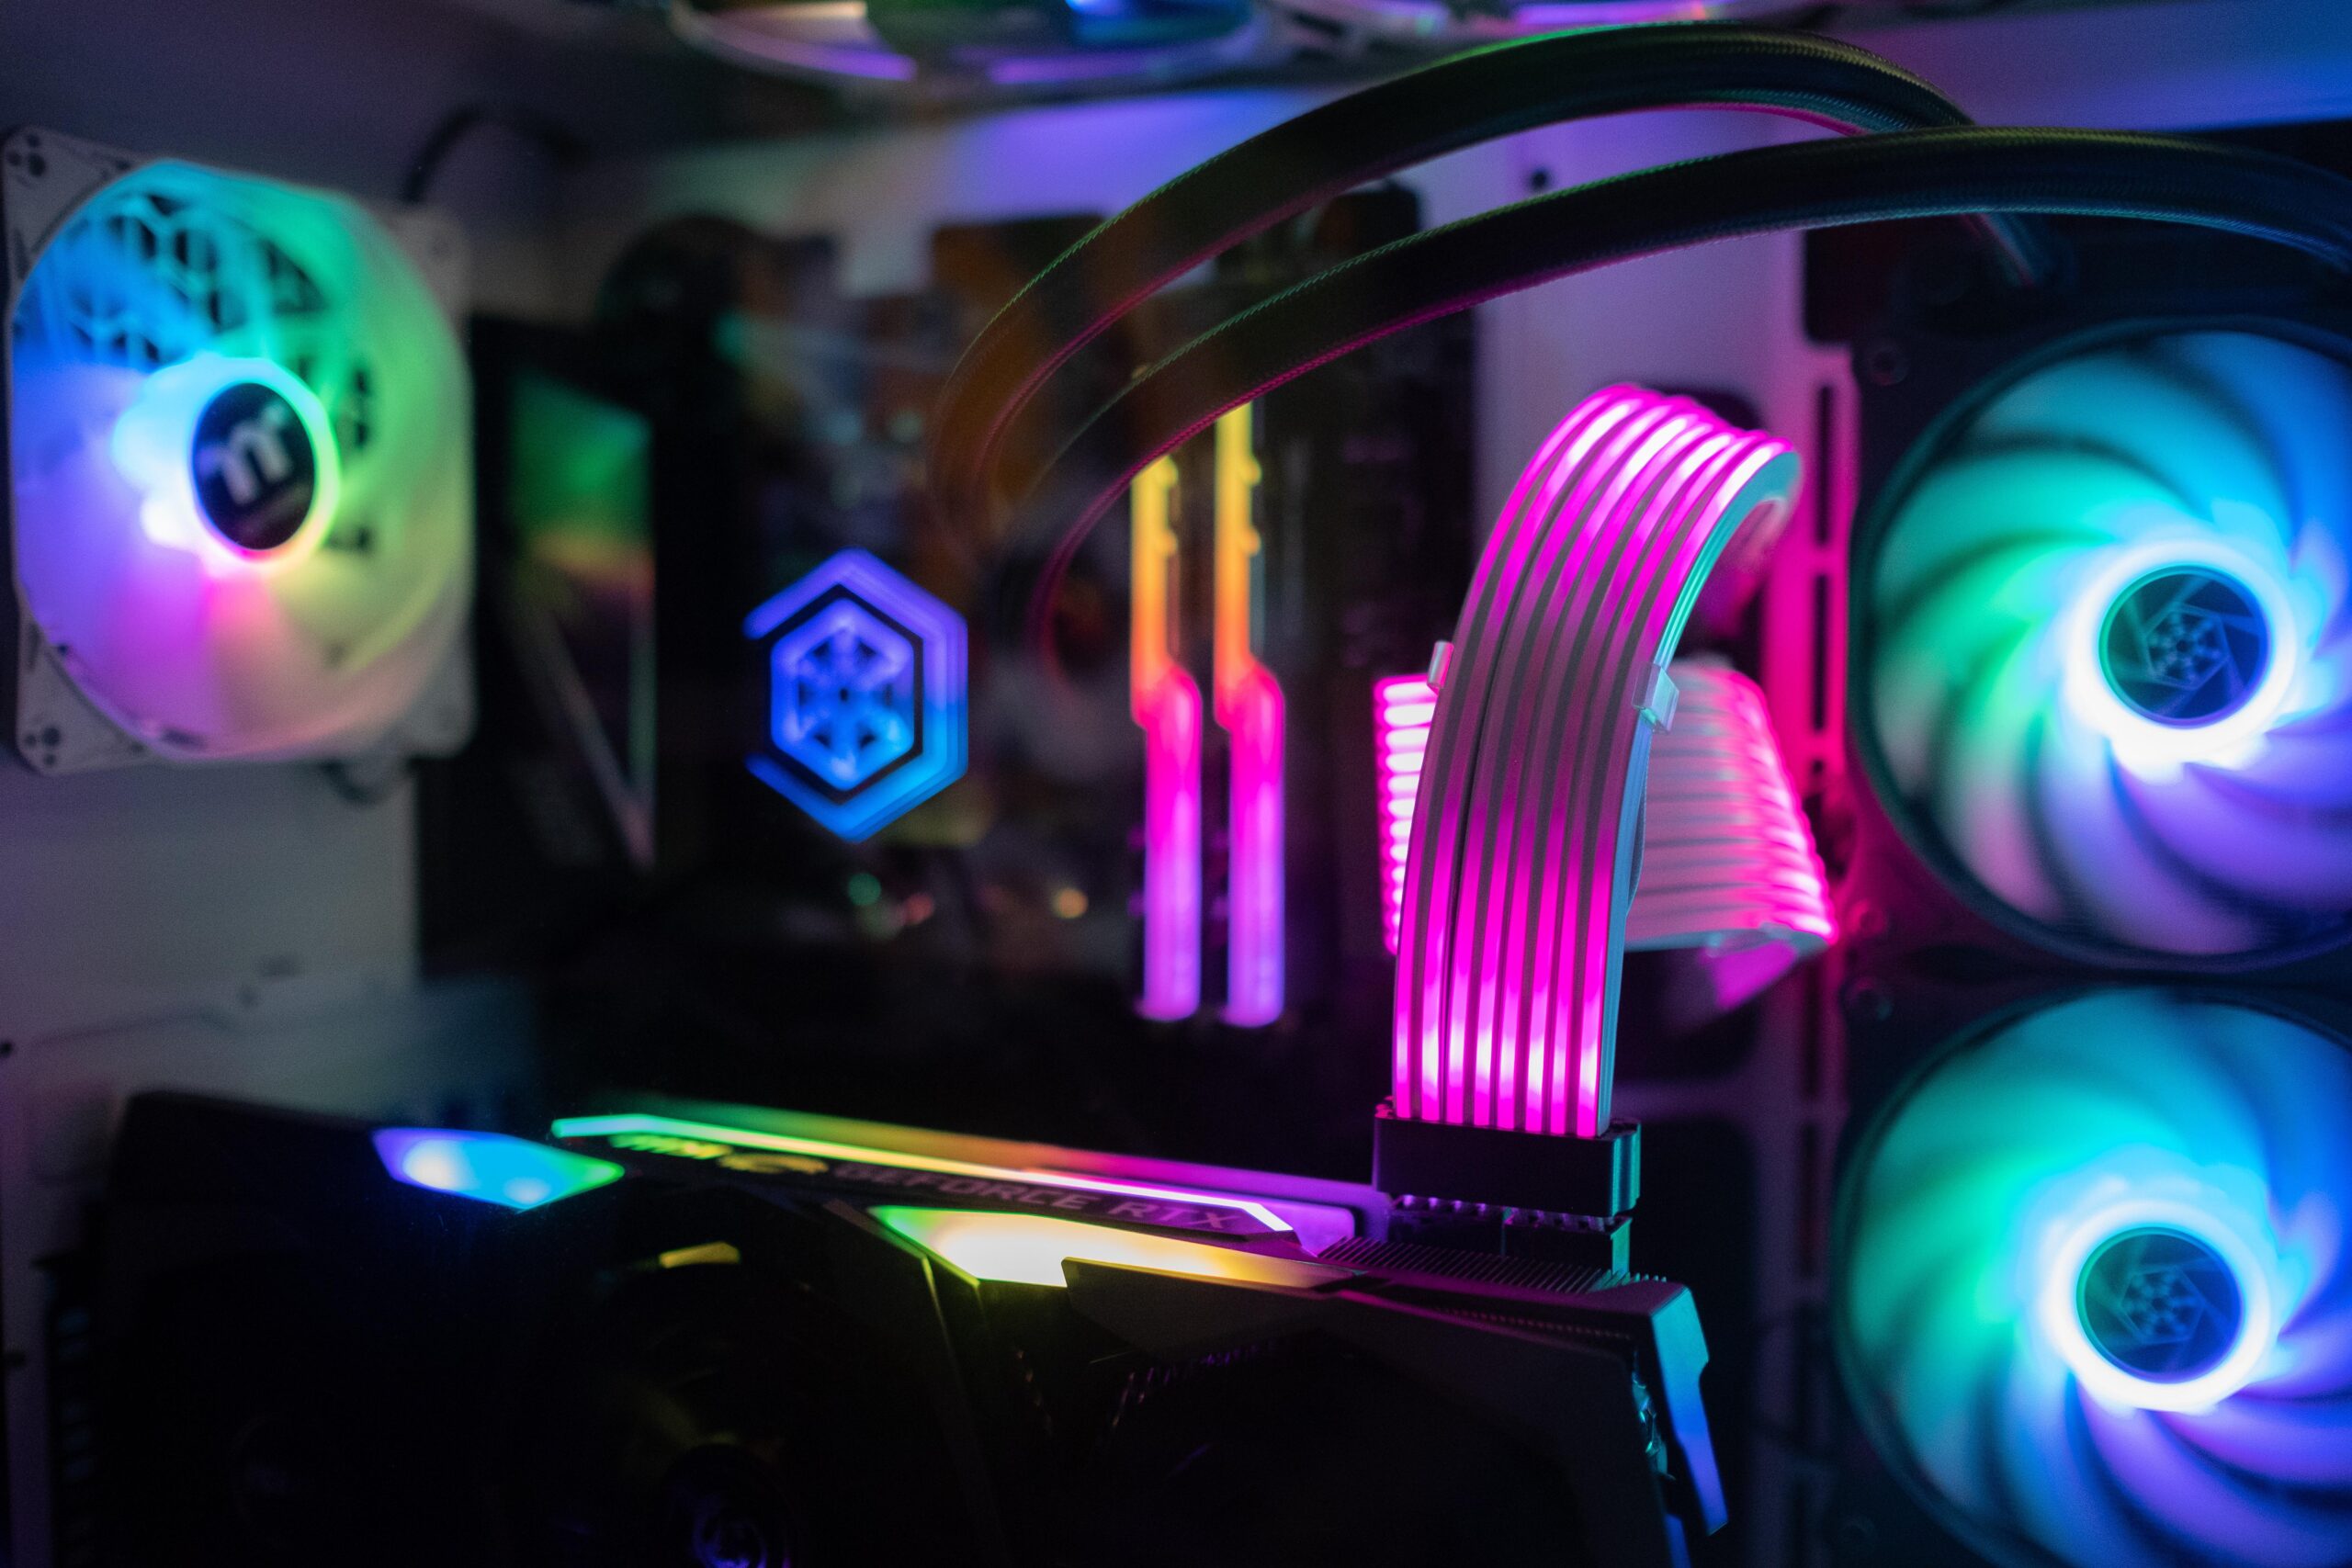
Before starting your how to build gaming pc step by step for beginners, gather all necessary components and tools. A typical Gaming PC build includes a compatible CPU (like Intel Core or AMD Ryzen with integrated NPU for AI tasks), motherboard supporting DDR5 and Wi-Fi 6E, at least 16GB RAM, NVMe SSD for storage, a powerful RTX GPU, reliable PSU (80+ Gold rated), a mid-tower case, and adequate cooling solutions such as AIO liquid coolers or air coolers.
Tools you’ll need: Phillips screwdriver, anti-static wrist strap (crucial to prevent ESD damage), thermal paste, zip ties for cable management, and a flashlight. Ensure your workspace is clean, well-lit, and static-free—use a wooden table or mat. Double-check compatibility using tools like PCPartPicker. For cybersecurity-conscious builds, prioritize motherboards with TPM 2.0 for secure boot.
- CPU cooler (pre-applied paste or separate tube)
- Optional: Thermal pads for M.2 SSDs
- Screws and standoffs (usually included with case/motherboard)
Step-by-Step Setup Guide
Follow these 8 detailed steps carefully. Take your time, and refer to component manuals for specifics.
- Prepare the motherboard: Open the CPU socket on your motherboard. Align the CPU’s triangle marker with the socket’s. Gently drop it in—no force needed. Secure the lever. Apply a pea-sized dot of thermal paste to the CPU if not pre-applied on the cooler.
- Install the CPU cooler: Mount the cooler bracket according to your motherboard manual (AM4/AM5 or LGA1700). Attach the cooler, tighten in a cross pattern to avoid uneven pressure. Connect the fan header to the CPU_FAN pin.
- Install RAM: Open the DDR5 RAM slot clips. Align the notch and push firmly until clips snap. Use dual-channel configuration (slots 2 and 4) for best performance. For gaming, 32GB is ideal.
- Add storage: Locate the M.2 slot (PCIe 4.0 or 5.0). Remove the heatsink screw, insert SSD at 30-degree angle, secure it. Replace heatsink for thermal throttling prevention.
- Mount motherboard in case: Install standoffs in the case matching motherboard holes. Place I/O shield first, then lower motherboard. Screw in place—don’t overtighten.
- Install PSU: Mount PSU in the case shroud. Route cables through grommets. Connect 24-pin ATX, 8-pin CPU power, and SATA/Molex for drives. For high-end RTX GPUs, use separate PCIe cables.
- Install GPU and extras: Insert RTX GPU into the primary PCIe x16 slot. Secure with screw/lever. Add case fans for intake/exhaust. Connect front panel headers (power/reset/USB) per manual pinout.
- Cable management and first power-on: Tidy cables with zip ties. Plug in PSU, flip switch. Press power button. If no POST, check connections. Enter BIOS (Del/F2) to verify components.
Warning: Ground yourself throughout to avoid damaging sensitive parts like the GPU or NVMe SSD.
Optimization Tips
Once assembled, optimize your build for peak gaming and beyond.
- Update BIOS from manufacturer site for DDR5 stability and new CPU support.
- Enable XMP/DOCP in BIOS for full RAM speed.
- Install NVIDIA GeForce Experience or AMD Software for RTX GPU drivers and Game Ready optimizations.
- Use Wi-Fi 6E for low-latency multiplayer; enable TPM 2.0 for Windows 11 secure boot.
- Monitor temps with HWMonitor or MSI Afterburner—aim under 80C load.
- For AI tasks, leverage NPU in modern CPUs via frameworks like ONNX.
- Cable manage for better airflow; add RGB if desired, but prioritize cooling.
Troubleshooting
Encounter issues? Here’s how to fix common beginner problems:
- No power: Check PSU switch, 24-pin connection, wall outlet.
- No display: Reseat GPU/RAM, try iGPU if available, check HDMI cable.
- High temps: Reapply thermal paste, verify fan directions (front intake, rear/top exhaust).
- Boot loop: Clear CMOS with jumper/button, check front panel pins.
- RAM errors: Test one stick at a time.
- Strange noises: Ensure no loose cables touching fans.
If persistent, consult component manuals or our blog for advanced Gaming PC tips.
Final Thoughts
Congratulations on completing your how to build gaming pc step by step for beginners! You’ve now got a customizable Gaming PC outperforming many pre-builts, with room for upgrades like faster NVMe SSDs or RTX GPUs. This setup excels for gaming marathons, student projects, cybersecurity labs (thanks to TPM and secure features), or even AI server-lite tasks.
We love helping you build rigs that last. Share your experience in comments, and explore more on cybersecurity hardware or Mini PCs on our site.
FAQs
How long does it take to build a gaming PC as a beginner?
First builds take 2-4 hours. Practice speeds it up.
Do I need prior experience for how to build gaming pc step by step for beginners?
No! This guide is designed for total beginners. Follow steps precisely.
What security features should I include in my Gaming PC?
TPM 2.0, BIOS passwords, and hardware firewalls via Wi-Fi 6E routers.
Can this build handle AI workloads?
Yes, with NPU-equipped CPUs and RTX GPUs for CUDA acceleration.
Is liquid cooling necessary?
Not for starters; good air cooling suffices for most gaming.


Write Your Review
No reviews yet. Be the first to share your experience!