
Are you ready to dive into the exciting world of cybersecurity? Building your first cybersecurity homelab PC is one of the best ways to gain practical skills without risking real-world networks. In 2026, with cyber threats evolving daily, hands-on experience is crucial for students, hobbyists, and aspiring professionals. A homelab PC lets you simulate attacks, test defenses, and experiment with tools like Wireshark, Nmap, Metasploit, and ELK Stack in a safe, isolated environment.
This guide is perfect if you’re a beginner wondering how to build first cybersecurity homelab pc step by step. Whether you’re a student needing a laptop alternative for dorm setups, or looking for a mini PC that doubles as a gaming rig or AI server, we’ll cover it all. You’ll learn to assemble hardware with features like TPM 2.0 for secure boot, multiple NICs for network segmentation, and NVMe SSDs for fast VM performance. No prior experience required – just follow our clear steps.

We recommend checking our blog for more cybersecurity tips and trends to complement your new homelab.
Preparation
Before starting your build, gather the right components. Focus on a balanced setup: a multi-core CPU like AMD Ryzen or Intel Core with integrated graphics for efficiency. Aim for at least 32GB DDR5 RAM (expandable to 64GB) to run multiple VMs smoothly. Storage needs include a 1TB NVMe SSD for the host OS and additional SATA SSDs or HDDs for VM images.
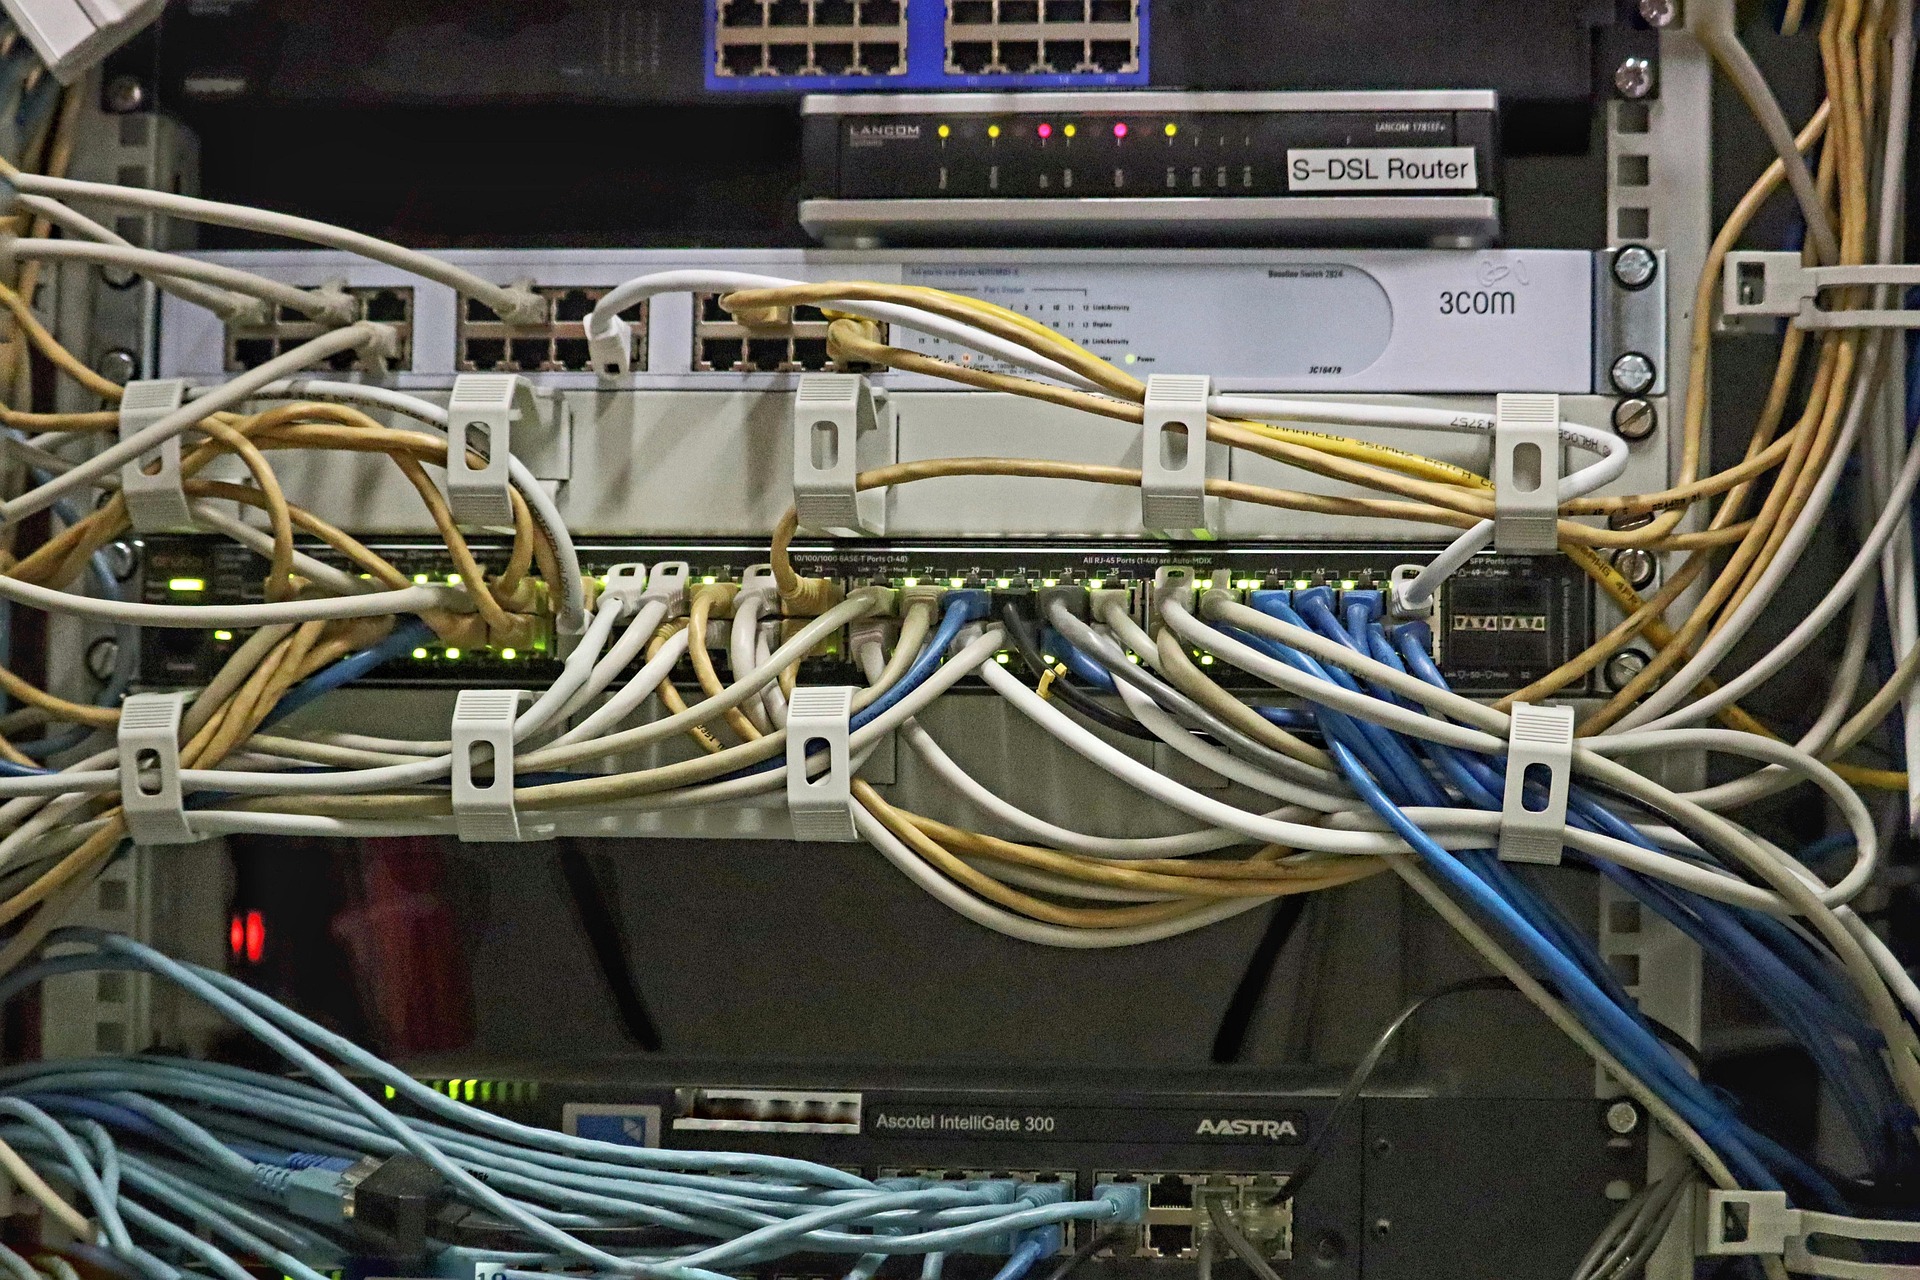
Networking is key for cybersecurity labs – get a motherboard with 2-4 Ethernet ports or add a PCIe NIC for VLANs and traffic mirroring. Ensure TPM 2.0 support for hardware encryption and Secure Boot. Power supply: 650W+ 80+ Gold rated. Case: mid-tower with good airflow. Tools needed: screwdriver set, anti-static wrist strap, thermal paste, zip ties. Budget for expandability if planning AI workloads or gaming.
- CPU: 8+ cores for virtualization
- Motherboard: Supports Wi-Fi 6E, multiple PCIe slots
- GPU: Optional RTX for GPU-accelerated cracking (e.g., Hashcat)
- OS: Proxmox VE, Ubuntu Server, or pfSense for firewall
Step-by-Step Setup Guide
Follow these 8 detailed steps to build and configure your cybersecurity homelab PC. Take your time, double-check connections, and work in a static-free area.
- Assemble the hardware. Install CPU into motherboard socket, apply thermal paste, mount cooler. Insert RAM into dual-channel slots. Secure motherboard in case, connect front panel headers, power/SATA cables. Tip: Update BIOS via USB before full assembly for DDR5 compatibility. Warning: Mismatched RAM can cause instability.
- Install storage and networking. Mount NVMe SSD in M.2 slot, add extra drives. Install PCIe NIC if needed. Connect all power cables to PSU, route neatly. Boot to BIOS (Del/F2), enable XMP for RAM, TPM 2.0, and virtualization (SVM/VT-x).
- Prepare bootable media. Download Proxmox VE ISO (ideal for homelabs) or Ubuntu Server. Use Rufus or Etcher on another PC to create USB installer. Verify ISO checksum for security.
- Install the hypervisor OS. Boot from USB, select install. Partition SSD: 100GB root, rest LVM-thin for VMs. Set static IP, configure root password with strong policy. Reboot and access web UI at https://IP:8006.
- Set up networking. Create bridges (vmbr0 for WAN, vmbr1 for LAN). Add VLANs for segmentation (e.g., VLAN 10 for attack VMs, 20 for targets). Install pfSense VM as router/firewall for realistic setups.
- Create VMs for cybersecurity tools. Upload ISOs for Kali Linux (attacker), Metasploitable (victim), Windows Server. Allocate 4-8GB RAM, 2-4 vCPUs per VM. Enable nested virtualization if needed.
- Install and configure tools. In Kali: apt update, install Nmap, Wireshark, Burp Suite. Set up ELK for logging. Harden host: ufw firewall, fail2ban, AppArmor. Enable Secure Boot in VMs.
- Test the lab. Run Nmap scans across VLANs, practice exploits safely. Monitor with Prometheus/Grafana. Snapshot VMs before risky tests. Tip: Use snapshots liberally.
Optimization Tips
Maximize your homelab’s performance with these 7 tips tailored for cybersecurity, students, and multi-use (gaming/AI).
- Use ZFS or BTRFS for storage pools with snapshots and compression.
- Enable CPU pinning and hugepages for VM efficiency.
- Add a 10GbE NIC for high-traffic packet captures.
- For students: Opt for low-power mini PC chassis to save energy in dorms.
- Gaming dual-use: Passthrough RTX GPU to a VM for gaming alongside labs.
- AI integration: Leverage NPU if available for ML-based threat detection.
- Regular backups to external NAS via rsync or Proxmox Backup Server.
Monitor temps with lm-sensors; keep under 80C. Update everything monthly for security patches.
Troubleshooting
Common issues and fixes:
- No POST/boot: Reseat RAM/CPU, check PSU cables, clear CMOS.
- Network not working: Verify bridge config, disable Wi-Fi if interfering, check cable/ports.
- VM slow: Increase RAM allocation, enable VirtIO drivers, tune ballooning.
- High CPU usage: Limit VM cores, check for crypto miners (scan with ClamAV).
- Security alerts: Isolate suspicious VMs, review logs in journalctl.
If stuck, check Proxmox forums or our blog for more help.
Final Thoughts
Building your first cybersecurity homelab PC opens doors to real-world skills. It’s versatile: students love the portability, gamers appreciate GPU options, and AI enthusiasts can run local models. Start small, iterate, and stay secure. In 2026, this setup future-proofs your learning. Dive in today – your future self will thank you!
FAQs
What is a cybersecurity homelab PC?
A dedicated machine running VMs to practice ethical hacking, forensics, and defense safely.
Do I need a powerful GPU?
Not essential, but RTX series helps with password cracking and ML tasks.
Best OS for homelab?
Proxmox VE for ease, or ESXi for enterprise feel.
Can I use this for gaming?
Yes, with GPU passthrough to a Windows VM.
How to keep it secure?
Air-gap sensitive VMs, use VLANs, apply patches, firewall everything.


Write Your Review
No reviews yet. Be the first to share your experience!