
The Flipper Zero is a versatile portable multi-tool designed for pentesters, developers, and cybersecurity enthusiasts. It excels in tasks like Sub-GHz signal analysis, NFC emulation, infrared control, and GPIO experimentation, making it perfect for learning ethical hacking and hardware security. If you’re new to this device, our Flipper Zero Tutorial will walk you through everything from initial setup to enhancing it with accessories for advanced cybersecurity projects.
In 2026, with rising demand for hands-on cybersecurity skills, mastering the Flipper Zero can boost your portfolio for roles in penetration testing or IoT security. Whether you’re a student exploring student laptops for coding alongside it, or setting up a mini PC for firmware development, this guide has you covered. We recommend starting with essential accessories like Wi-Fi boards and protective cases to protect your investment and unlock more features.
Explore high-paying opportunities in the field with our Cyber Security Jobs and Salary Trends guide. Below, check out our top 5 picks to get started.

Pros
- Comprehensive bundle offers great value with all essentials
- Easy no-tool assembly speeds up installation
- Rugged full-body protection enhances device longevity
- Travel-ready with dedicated carrying bag
- High-quality materials provide reliable fit and function
Cons
- Flipper Zero device itself not included
- Requires basic assembly despite ease
- Limited to Flipper Zero compatibility
The HCJYC Wi-Fi Developer Board Starter Kit transforms your Flipper Zero by adding ESP32-based wireless connectivity, perfect for developers, hackers, and tech hobbyists eager to expand functionality. This complete bundle includes the dev board, protective case set, silicone cover, three TPU screen protectors, and an EVA carrying bag, delivering everything needed for upgrades and safeguarding in one purchase.
Standout features shine in real-world use: the tool-free, snap-fit assembly allows quick integration without screws or hassle, while the Wi-Fi board enables seamless wireless operations for projects like network scanning or remote control. Users appreciate the precise engineering that ensures flawless compatibility and reliable performance during extended sessions.
Design and build quality impress with a 360-degree silicone case offering rugged, full-body protection, including soft coverage for the iButton and hard-to-reach corners. The protective board case and screen guards add layers of defense against daily wear, making it adventure-ready.
Potential drawbacks include the need for minor assembly, even if straightforward, and the absence of the Flipper Zero itself, which buyers must already own. These are minor for targeted users.
Verdict: This kit excels as a convenient, protective entry to Flipper Zero Wi-Fi enhancements, earning high marks for value and practicality among enthusiasts.
1 x ESP32 WiFi Dev Board for Flipper Zero
1 x WiFi Board Protective Case Set
1 x Silicone Protective Cover
3 x TPU Screen Protectors
1 x EVA Carrying Bag

Pros
- Comprehensive all-in-one kit saves time and money
- Perfect compatibility and fit for seamless use
- Durable materials enhance device longevity
- Versatile accessories boost portability
- Thoughtful iButton protection adds extra security
Cons
- Adds slight bulk to the slim Flipper Zero design
- Flipper Zero device not included in package
- Limited to black color option
The HCJYC 5-in-1 protective accessory set is designed specifically for Flipper Zero owners who want reliable defense against everyday wear. This kit bundles a soft silicone case, three screen protectors, an EVA carrying case, hand strap, and carabiner, making it ideal for hobbyists, tinkerers, or professionals using the multifunctional device in various environments.
Standout features include 360-degree full-body coverage that protects even the trickiest corners, like the iButton area, with soft silicone for flexibility. Precise cutouts ensure easy access to all buttons, ports, and the video game module without interference, delivering smooth real-world performance during emulation, scanning, or hacking tasks.
Build quality shines with rugged yet lightweight materials: the silicone case molds perfectly to the device, while the EVA case provides shock-absorbing portability. The included extras like the hand strap enhance handling security, preventing drops during mobile use.
Potential drawbacks include added bulk from the case, which might feel noticeable on the compact Flipper Zero, and the absence of the device itself. Color is limited to black, which suits most but may not match custom setups.
Overall, this kit earns high marks for comprehensive protection and value, making it a smart buy for anyone serious about safeguarding their Flipper Zero investment.
Package Includes: 1x Soft Silicone Case, 3x Screen Protectors, 1x EVA Carrying Case, 1x Hand Strap, 1x Carabiner.
Compatibility: Flipper Zero (device not included), including video game module.
Design: 360° full-body protection with precise cutouts and soft silicone for iButton.
Color: Black.

Pros
- Comprehensive coverage of OS, protocols, and hardware integration
- Practical workflows with VS Code, ST-Link, and memory inspection
- Hands-on focus for real-world projects like protocol analysis
- Ideal for engineers advancing from basic Flipper Zero use
- Affordable entry to advanced embedded development
Cons
- Assumes basic C programming and embedded systems knowledge
- No beginner tutorials for Flipper Zero setup
- Lacks video companions or code repositories
This book by Lex Glynn targets developers, engineers, and dedicated hobbyists eager to exceed basic Flipper Zero scripting. It reveals the STM32WB55 core and teaches building custom .fap applications, firmware modules, and hardware integrations in C, turning the device into a pro-grade platform for wireless and physical interactions.
Standout features include mastering the FURI event loop and queues for robust code, configuring CC1101 for Sub-GHz, NFC handling, and IR controls, plus GPIO and sensor interfacing. Real-world applications shine in custom weather stations, radio protocol analysis, or pentesting tools, with VS Code setups and GDB debugging ensuring efficient, bug-free development.
The content excels in depth and practicality, stripping away superficial guides to deliver professional blueprints. While build quality refers to clear, structured writing, it demands prior C and embedded experience, potentially challenging newcomers.
Drawbacks include no introductory Flipper basics and reliance on reader initiative for code examples. Overall, it earns strong recommendation for intermediate users seeking to own their Flipper Zero innovations.
FURI Operating System: Event loops, queues, and memory management for stable firmware.
Wireless Protocols: Sub-GHz with CC1101, NFC, and Infrared programming.
Hardware Integration: GPIO, UART/I2C, external sensors, Arduino porting.
Workflows: VS Code toolchain, ST-Link/GDB debugging, runtime inspection.

Pros
- Massive range extension tested in real-world conditions
- Compact and non-intrusive GPIO attachment
- Includes protective stand for safe storage and transport
- High-gain antenna tailored for Flipper Zero Sub-GHz
- Easy plug-and-play installation
Cons
- Occupies GPIO 1-8, potentially limiting other accessory use
- Flipper Zero device sold separately
- Focused on 433MHz, may need extras for other frequencies
This HCJYC CC1101 external antenna is a specialized accessory for Flipper Zero users seeking to supercharge Sub-GHz wireless performance. It plugs directly into the device's GPIO 1-8 ports, making it perfect for hobbyists, pentesters, and makers who experiment with remote controls, IoT devices, or signal analysis over greater distances.
Standout features include its impressive tested ranges: over 2000 feet for transmission and 80+ feet for receiving, powered by a 12dB 433MHz omni antenna. In real-world use, it delivers clearer signals and fewer dropouts compared to the stock Flipper Zero antenna, ideal for outdoor testing or cluttered environments.
Build quality shines with a compact, 3D-printed body featuring a portable stand that shields the transceiver, prevents pin bending, and offers secure storage. The chamfered edges and high-density material ensure durability, while the small footprint avoids blocking other GPIO pins.
Drawbacks include its dedication to GPIO 1-8, which might conflict with multi-accessory setups, and the 433MHz focus, requiring additional antennas for broader bands. Still, for targeted Sub-GHz upgrades, it excels.
Verdict: A must-have range extender for serious Flipper Zero enthusiasts. It transforms short-range limitations into long-distance prowess with minimal hassle.
Key Specs:
- Antenna Type: 12dB Omni 433MHz CC1101
- Power: 5V
- Transmission Range: 2000+ feet (tested)
- Receiving Range: 80+ feet (tested)
- Compatibility: Flipper Zero GPIO 1-8 (plug-and-play)
- Design: 3D-printed with protective stand
- Package: 1x Antenna (Flipper Zero not included)

Pros
- High-strength polycarbonate build for long-lasting toughness
- Perfect fit for official 1.2mm PCB boards with easy assembly
- Excellent heat dissipation and button responsiveness
- Dust protection and pin safeguards enhance usability
- Premium alternative to inconsistent 3D-printed options
Cons
- Compatible only with official Flipper Zero Wi-Fi Developer Board, not clones
- Wi-Fi developer board not included in the package
- Available only in black color
This 4-in-1 protective case set from HCJYC is tailored for owners of the official Flipper Zero Wi-Fi Developer Board, specifically those with the standard 1.2mm PCB thickness. It provides comprehensive armor against everyday hazards, making it ideal for developers, hobbyists, or anyone carrying their board in the field. Unlike generic covers, this kit ensures a flawless fit without compatibility issues common with clone boards.
Standout features include injection-molded polycarbonate construction, which delivers a premium smooth finish, consistent dimensions, and superior impact resistance. In real-world use, it withstands drops and scratches while allowing heat to escape through strategic cutouts, maintaining optimal performance during extended sessions. The snap-fit design enables effortless assembly and disassembly, and responsive buttons paired with a smart cap keep dust out and prevent misfires.
Build quality shines with precise engineering: tough yet lightweight material protects pins from bending, and every seam locks seamlessly for reliable fastening. While it excels in protection and usability, note that it's exclusive to official boards, excluding thicker clones, and the Wi-Fi board itself is not included.
Overall, this case set earns high marks for elevating the protection of your official Flipper Zero Wi-Fi board. It's a smart investment for anyone prioritizing durability and functionality over cheap alternatives.
Designed exclusively for the official Flipper Zero Wi-Fi Developer Board with 1.2mm PCB thickness. Clone or third-party boards often have thicker or inconsistent dimensions, leading to poor fit or interference. Verify your board specs before purchase to ensure seamless compatibility.
Package includes the 4-in-1 case set only; Wi-Fi developer board sold separately.
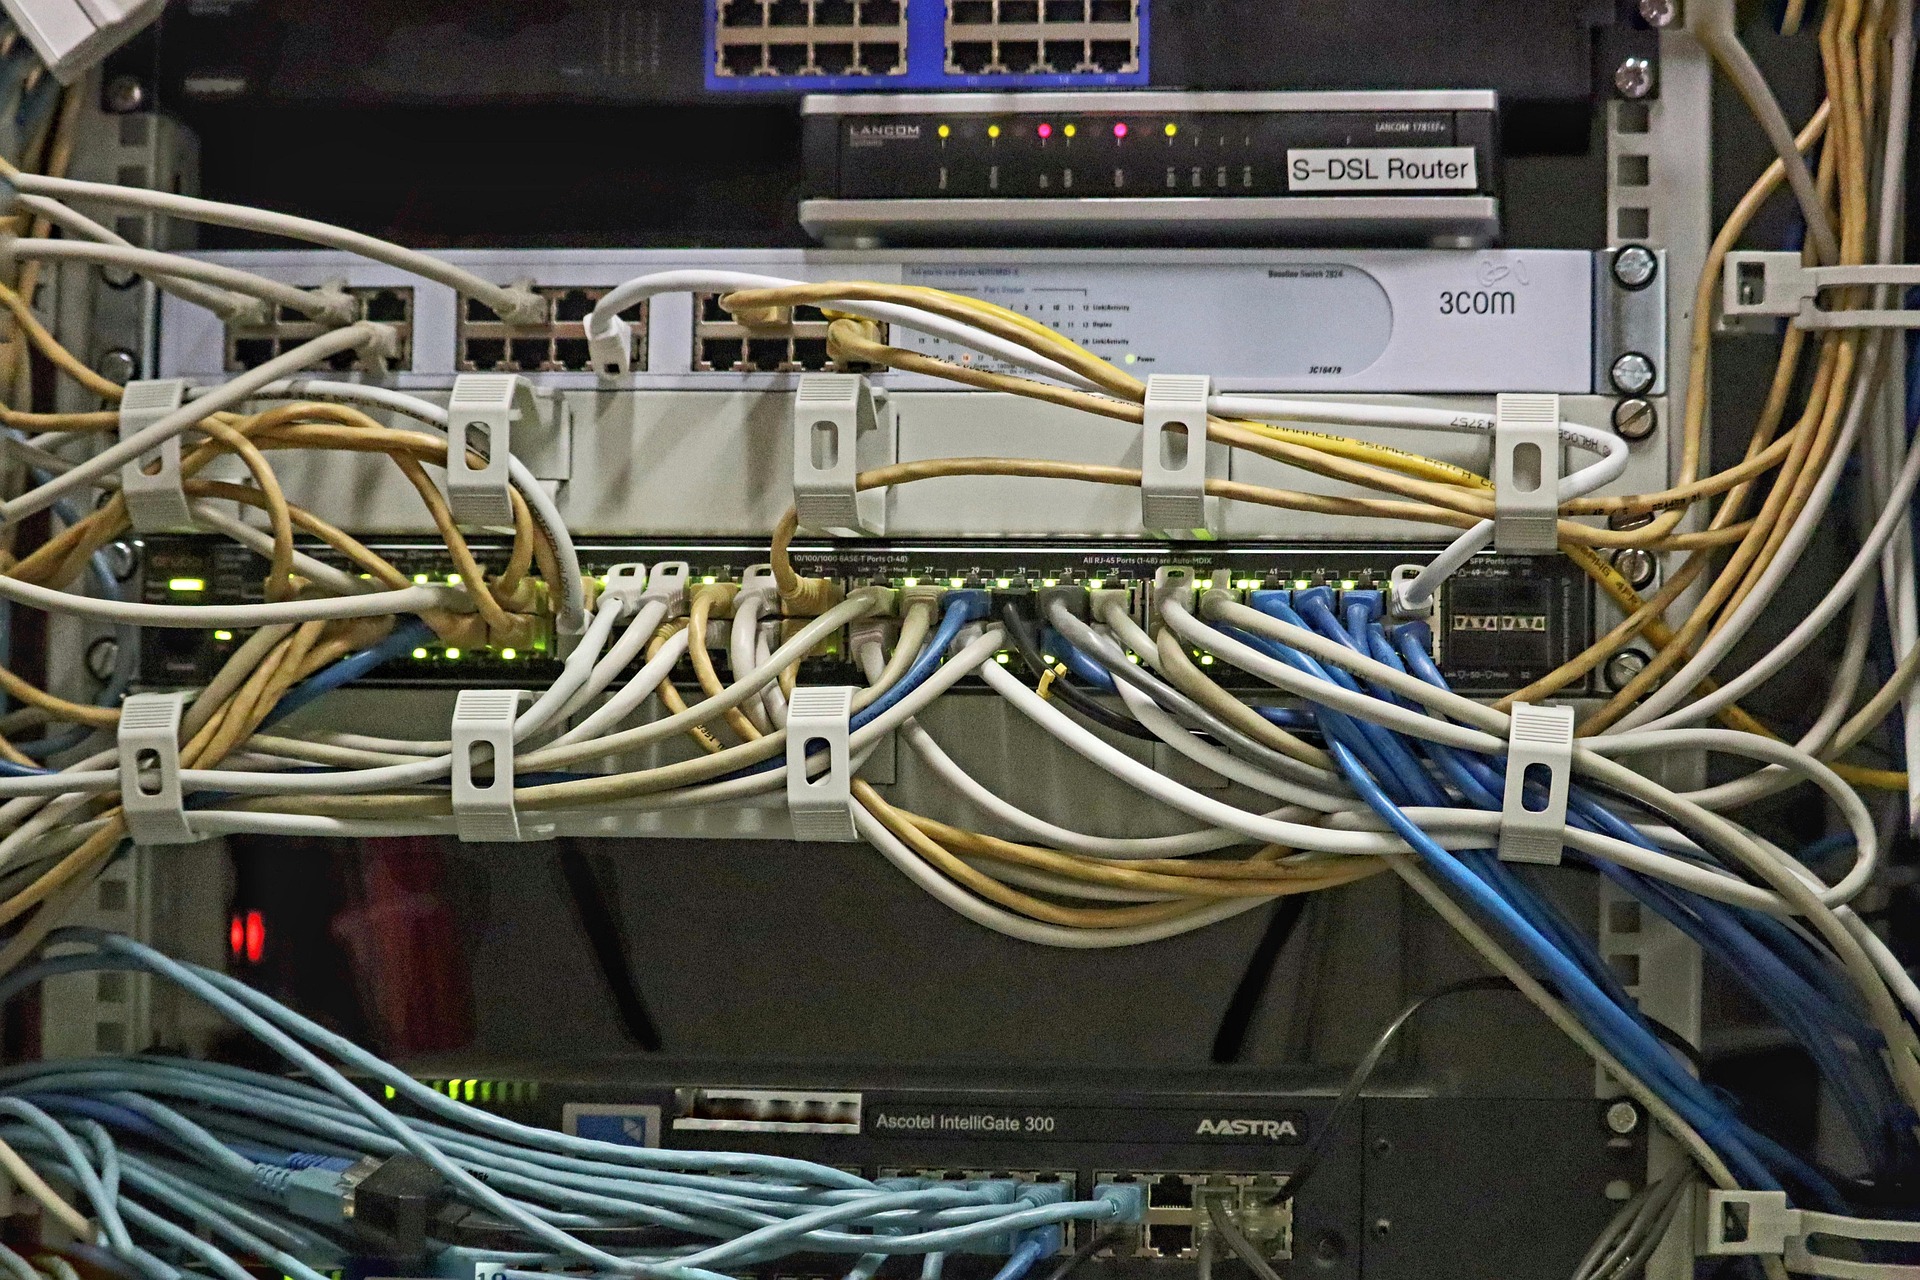
Preparation for Your Flipper Zero Tutorial
Before diving into the steps, gather your essentials. You’ll need the Flipper Zero device, a USB-C cable for charging and data transfer, and a computer with qFlipper software compatibility—ideally a cybersecurity-focused mini PC or student laptop with Wi-Fi 6E for smooth updates. Download the latest qFlipper app from the official site and ensure your system meets requirements like USB 3.0 support.
Recommended accessories include the Wi-Fi Developer Board for Flipper Zero for wireless capabilities and the Flipper Zero External CC1101 Antenna for extended Sub-GHz range. Grab a protective case like the 5-in-1 Protective Cover Set to safeguard against drops during fieldwork. For deeper learning, the Mastering Flipper Zero Development book is invaluable.
- Charge your Flipper Zero fully.
- Backup any existing data.
- Secure a stable internet connection for firmware downloads.
Step-by-Step Setup Guide
Follow these detailed steps to get your Flipper Zero up and running. Each includes tips and warnings for smooth execution.
- Power On and Initial Boot: Press the reset button on the back. The screen lights up with the dolphin animation. Navigate using the d-pad and confirm with the OK button. Warning: Avoid force resets during updates to prevent bricking.
- Connect to qFlipper: Plug via USB-C to your PC. Install qFlipper if not done (Windows, macOS, Linux supported). Grant permissions and pair the device. This enables file transfer and recovery mode.
- Update Firmware: In qFlipper, check for updates under the wrench icon. Download the latest stable or dev channel firmware (recommend stable for beginners). Apply and wait 5-10 minutes. Tip: Use a mini PC with NVMe SSD for faster downloads.
- Attach Wi-Fi Developer Board: Power off Flipper. Align the Wi-Fi Board with GPIO pins and secure. Boot up, go to Apps > WiFi for scanning networks. Great for Marauder attacks in pentests.
- Install Sub-GHz Antenna: Connect the External CC1101 Antenna to GPIO headers. Test in Sub-GHz app by reading garage door signals. Enhances range up to 1km line-of-sight.
- Apply Protection: Snap on the 4-in-1 Protective Case Set or 5-in-1 Set. Includes screen protectors—apply carefully to avoid bubbles.
- Explore Basic Apps: Test NFC by emulating cards, IR for remotes, or GPIO for LED blinking. Visit the Blog for more cybersecurity tips.
- Start Development: Use VS Code with Flipper SDK. Follow the Mastering Flipper Zero Development book for C apps. Compile and flash via qFlipper.
Optimization Tips
Maximize your Flipper Zero’s potential with these pro tips tailored for cybersecurity and development.
- Enable badKB for HID attacks only in controlled environments.
- Customize themes via qFlipper for better visibility outdoors.
- Pair with a gaming PC’s RTX GPU for heavy simulation tasks during dev.
- Use AI servers for automating signal analysis scripts.
- Regularly backup saves to avoid data loss.
- Integrate with student laptops via USB for mobile pentesting labs.
- Monitor battery with GPIO sensors for long sessions.
Troubleshooting Common Issues
Stuck? Here’s how to fix typical Flipper zero tutorial problems:
- Connection Fails: Try different USB ports/cables; reinstall qFlipper.
- Firmware Brick: Enter recovery mode (double-reset) and reflash.
- Weak Signals: Ensure antenna is properly attached; check for interference.
- App Crashes: Update to latest firmware; clear cache in settings.
- Visit Mini PCs page for compatible dev machines.
Final Thoughts
Your Flipper Zero Tutorial journey opens doors to exciting cybersecurity adventures. Start with basics, add accessories, and dive into development. Top pick: Wi-Fi Developer Board for versatility; best protection is the 5-in-1 Case Set. Check Reviews for more.
FAQs
What is the best way to start a Flipper zero tutorial?
Begin with official firmware update and basic apps like Sub-GHz and NFC.
Do I need accessories for Flipper Zero?
Yes, Wi-Fi boards and antennas expand capabilities for cybersecurity tasks.
Is Flipper Zero compatible with student laptops?
Absolutely—qFlipper works on Windows, macOS, Linux for easy setup.
How to develop apps for Flipper Zero?
Use the C SDK and resources like the Mastering book for custom firmware.
Can Flipper Zero be used for gaming PC security testing?
Yes, test RF signals and HID for peripheral security audits.

Write Your Review
No reviews yet. Be the first to share your experience!