
In today’s digital world, cybersecurity threats are everywhere, from hackers on public WiFi to data trackers online. Setting up a VPN on your WiFi router provides a powerful layer of protection by encrypting all internet traffic from every device in your home. Unlike installing VPN apps on individual phones or laptops, a router-level VPN shields smart TVs, gaming consoles, and IoT devices that can’t run software. This How to Set Up VPN on WiFi Router for Better Cybersecurity is ideal if you want seamless privacy without managing multiple apps.
Whether you’re working from home, streaming geo-blocked content, or just browsing safely, this guide will walk you through the process. We’ll cover everything from checking compatibility to testing your setup. If you’re new to home networking, check out our blog for more tips on WiFi routers and mesh systems.
By the end, your network will be fortified against cyber risks, with faster speeds than per-device VPNs in many cases. Let’s dive in and enhance your cybersecurity today.
Preparation: What You Need Before Starting
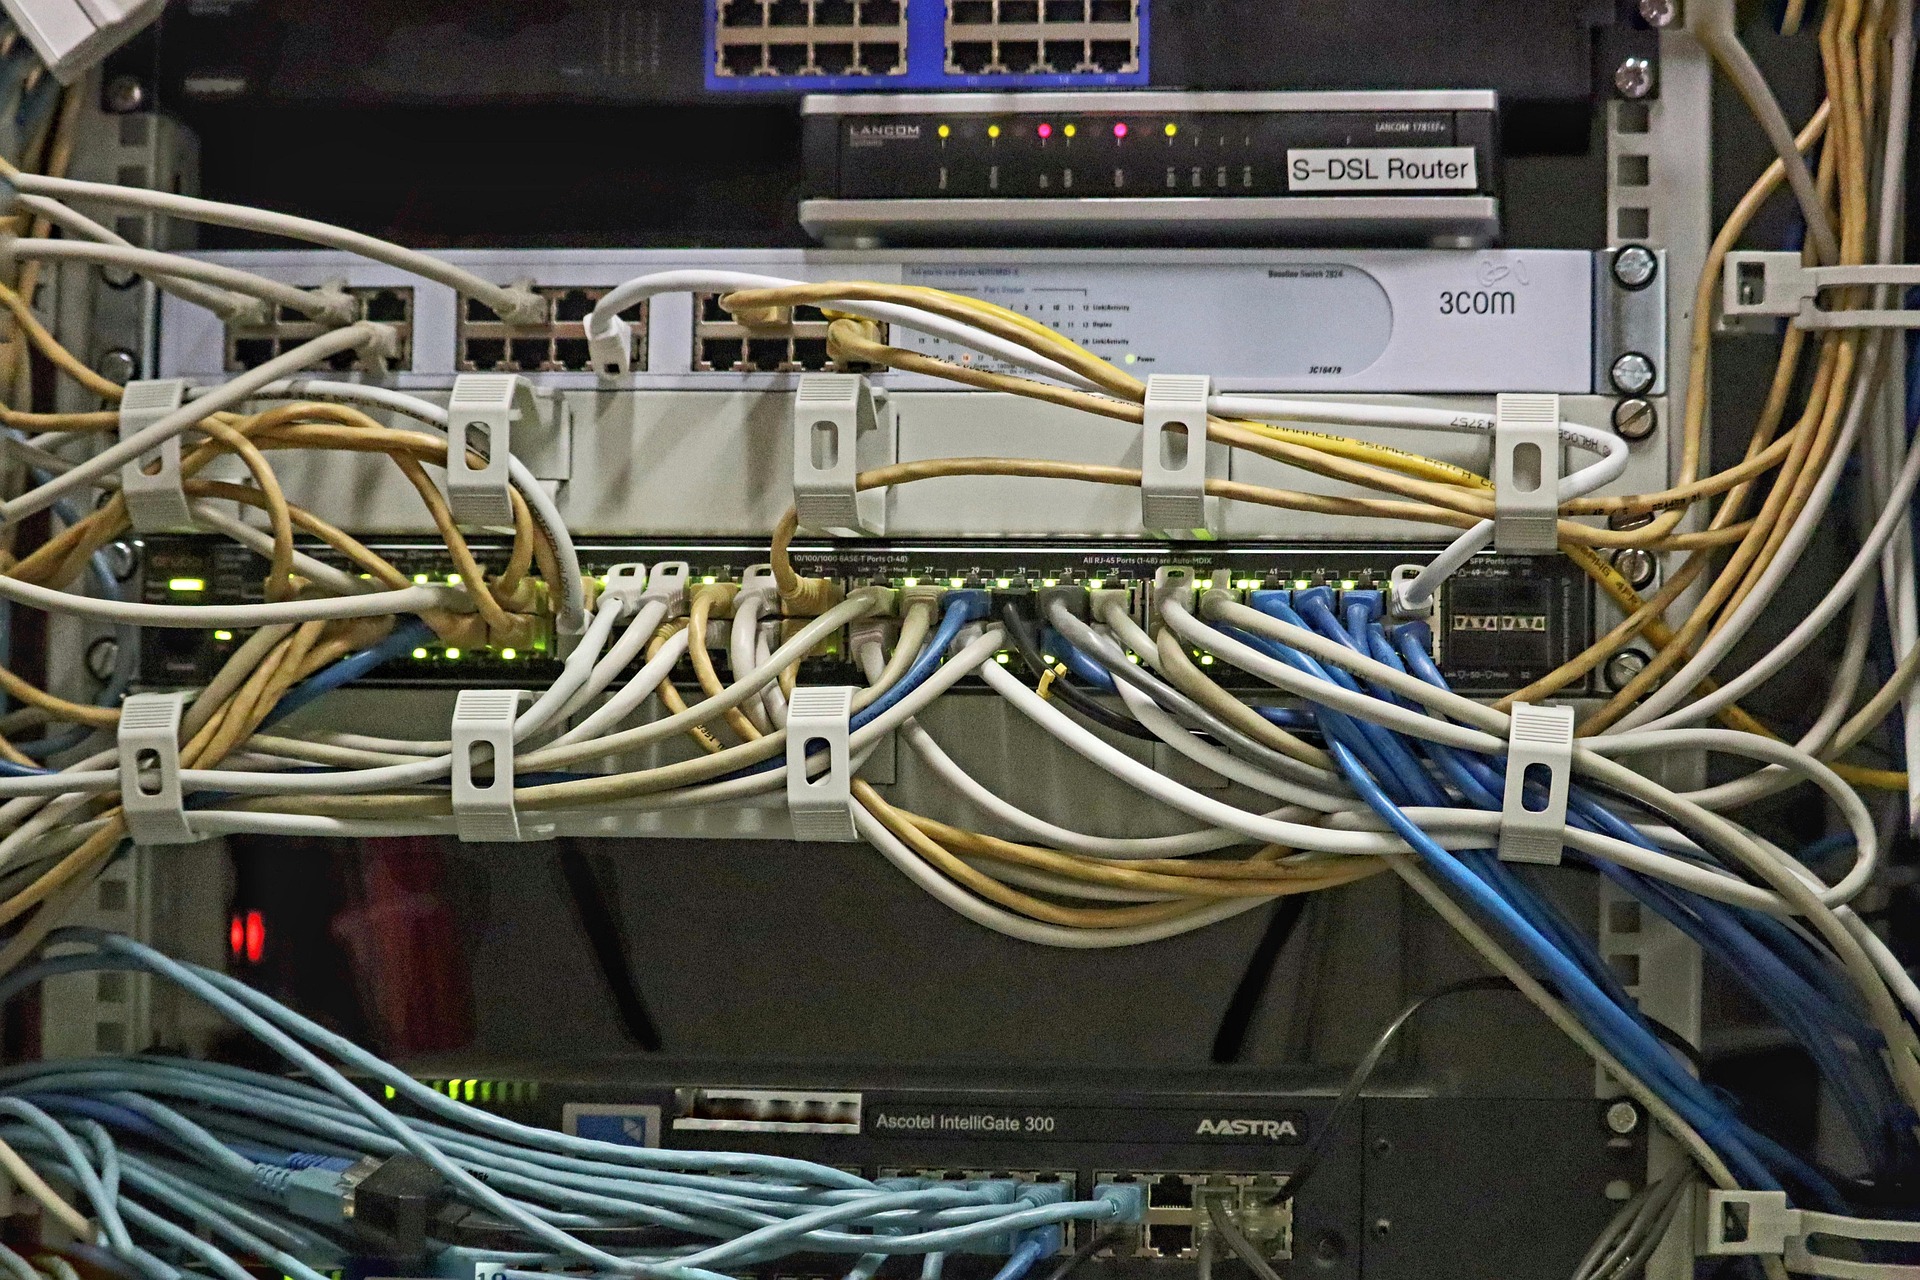
Before jumping into the setup, gather the essentials to avoid frustration. First, confirm your router supports VPN functionality. Most modern routers from brands like Asus, Netgear, and TP-Link offer built-in VPN client or server support via OpenVPN, WireGuard, or PPTP protocols. Check your model’s manual or admin interface for “VPN” settings.
You’ll need:
- A stable internet connection and your ISP login details if required.
- A computer or laptop with an Ethernet cable for initial wired access.
- A VPN subscription from a router-compatible provider like ExpressVPN, NordVPN, or Surfshark. Download their router configuration files (usually .ovpn for OpenVPN).
- Router admin credentials (default often admin/admin; change this for security).
- Updated firmware on your router to avoid bugs.
Pro tip: Opt for WireGuard protocol if supported, as it’s faster and more efficient than OpenVPN. Backup your router settings before changes.
Step-by-Step Guide to How To Set Up VPN On WiFi Router For Better Cybersecurity
Follow these 7 detailed steps to configure your VPN. We’ll use a typical web-based admin interface; steps may vary slightly by model.
- Access the Router Admin Panel: Connect your computer to the router via Ethernet. Open a browser and enter the gateway IP (usually 192.168.1.1 or 192.168.0.1). Log in with admin credentials.
- Update Firmware: Navigate to Advanced > Administration > Firmware Upgrade. Download the latest from the manufacturer’s site and upload it. Reboot the router.
- Enable VPN Client: Go to VPN or Advanced > VPN Client. Toggle it on and select your protocol (e.g., OpenVPN).
- Upload VPN Configuration: Download the .ovpn file from your VPN provider’s website (under router setup section). Import it in the router’s VPN client page. Enter username/password if prompted.
- Configure Connection Settings: Set connection name, enable auto-connect on boot, and adjust DNS if your VPN provides custom servers for leak protection.
- Apply and Connect: Save changes and apply. The status should show “Connected.” Test by visiting whatismyipaddress.com; it should display the VPN IP.
- Verify Network-Wide Coverage: Disconnect Ethernet, connect wirelessly on multiple devices, and confirm VPN protection via IP check or VPN provider dashboard.
Warning: If connection fails, double-check credentials and firewall settings. Some ISPs block VPN ports; switch to port 443 for HTTPS camouflage.
Optimization and Troubleshooting Tips
After setup, fine-tune for peak performance and security. Here are 6 key tips:
- Firmware Vigilance: Enable auto-updates and check monthly. New patches fix VPN vulnerabilities.
- Protocol Selection: WireGuard offers better speed (up to 2x faster) with less CPU overhead than OpenVPN.
- Channel and Placement: Use WiFi Analyzer app to pick least congested channels. Position router centrally for strong signal post-VPN.
- Kill Switch Feature: Activate if available to block internet if VPN drops, preventing leaks.
- Split Tunneling: Route only specific traffic through VPN to maintain local speeds for gaming/printers.
- Monitor Logs: Check router logs for errors. Common fixes: restart VPN service or regenerate config file.
Checklist for troubleshooting: 1) Reboot everything. 2) Test wired vs. wireless. 3) Disable other VPNs/firewalls. 4) Contact VPN support for custom configs. Expect 10-30% speed loss; upgrade to WiFi 6/7 router if severe.
| Issue | Solution |
| VPN Won’t Connect | Verify config file, ports, credentials |
| Slow Speeds | Switch to WireGuard, QoS prioritization |
| IP Leak | Enable kill switch, custom DNS |
Final Thoughts
Setting up a VPN on your WiFi router transforms your home network into a cybersecurity fortress, protecting all connected devices effortlessly. Follow this guide, and you’ll enjoy encrypted browsing, privacy, and access to restricted content without per-device hassle. If speeds lag or coverage is poor, consider upgrading to a VPN-ready mesh WiFi system with WiFi 6E or 7 support, like Asus AiMesh or Netgear Orbi models featuring MU-MIMO and Beamforming.
For more networking advice, explore our blog. Stay secure in 2026 and beyond!
FAQs
Do all WiFi routers support VPN setup?
No, only routers with VPN client firmware do, typically mid-range and above. Check specs for OpenVPN or WireGuard. Basic ISP routers often lack this; opt for custom firmware like DD-WRT if compatible.
Is router VPN better than app-based VPN?
Yes for whole-home coverage, as it secures unmanaged devices. However, apps offer easier server switching. Combine both for optimal How to Set Up VPN on WiFi Router for Better Cybersecurity in 2026.
Will VPN on router slow down my internet?
Some speed loss occurs due to encryption (10-40%), but QoS and WireGuard minimize it. Test your baseline speeds first.
How do I remove VPN if issues arise?
Log into admin, disable VPN client, save, and reboot. Restore from backup for full reset. Always test incrementally.


Write Your Review
No reviews yet. Be the first to share your experience!